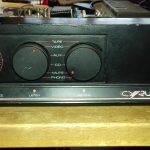
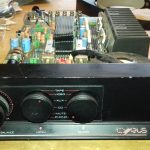
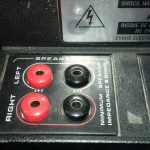
I have a magnificent Mission Cyrus Amplifier which is the heart of my system. I was bought second hand of course.
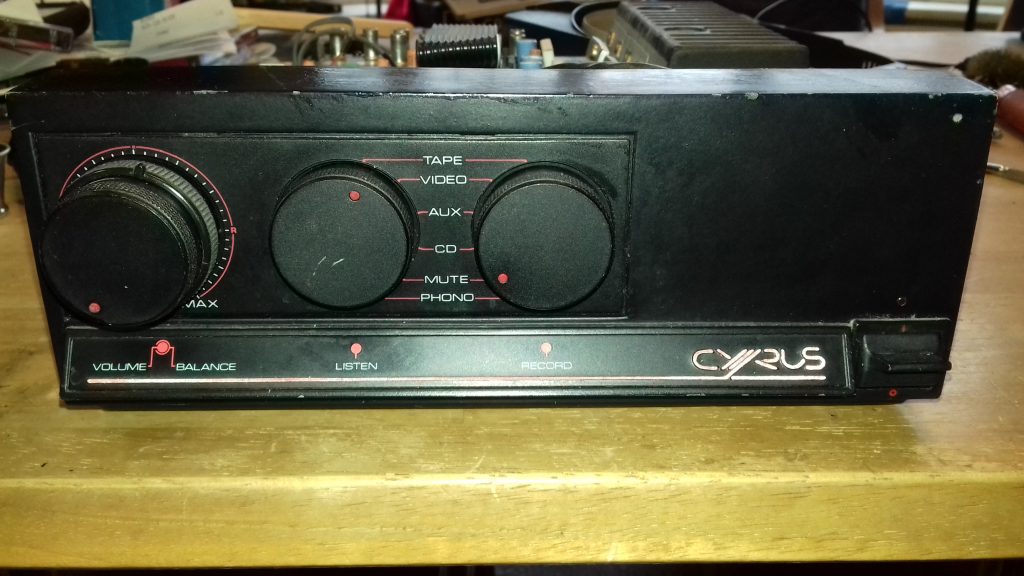
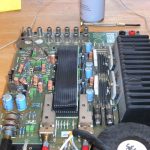
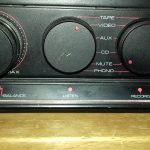
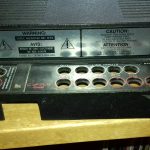
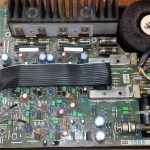
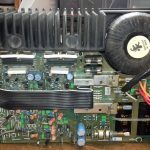
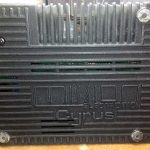
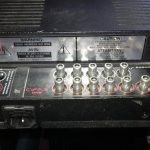
This is one of the later ones, with the heavy cast chassis, toggle power switch and 5 inputs. Let’s have a look inside.
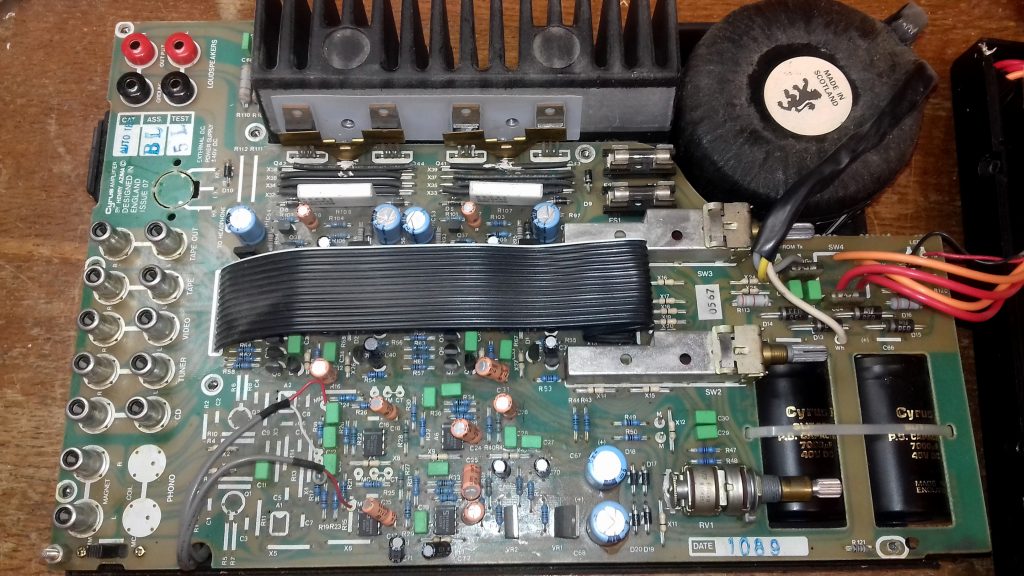
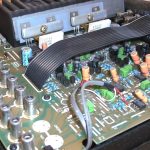
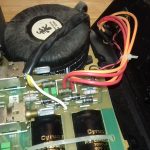
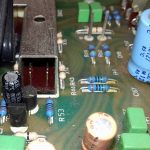
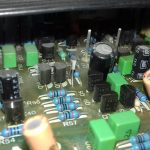
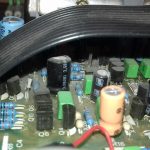
This amp is a masterpiece of industrial design. It is about the size of a shoe-box but manages to cram everything required in without being cramped.
Mine needed a little attention, but since I only paid £15 for it second hand, I shan’t complain.
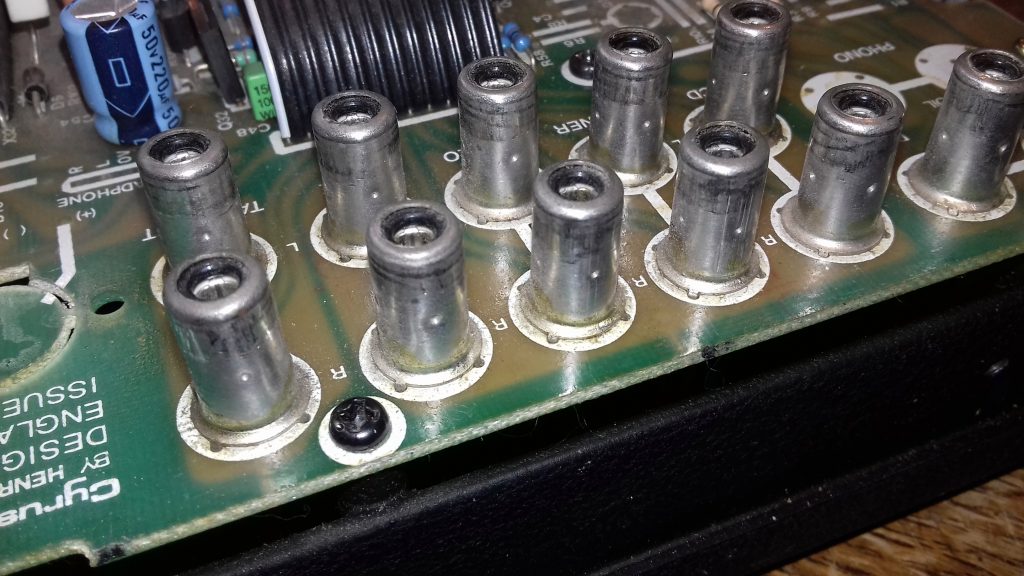
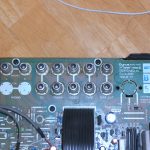
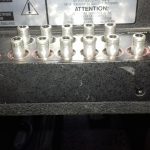
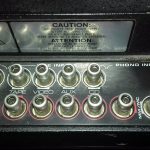
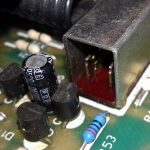
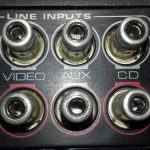
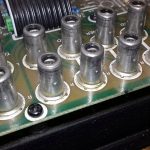
The input sockets needed a really good clean, and they still occasionally give me a bit of trouble, so I will be replacing them at some point. I sourced some replacements, but they have a slightly different pin layout, so cannot be fitted without drilling the board. I’ll see if I can get the correct parts before resolving to that.
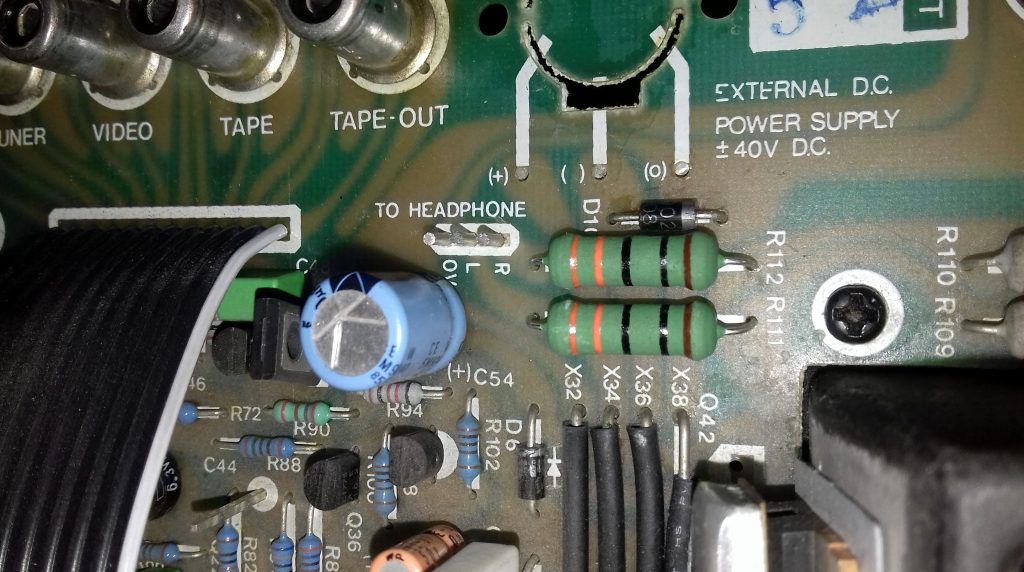
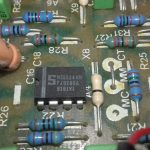
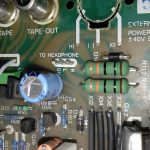
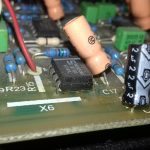
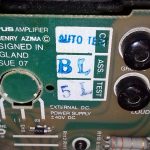
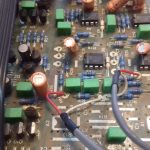
The Circuit board is common to the Cyrus One and the more powerful variant, the Cyrus Two. Features have come and gone on the Cyrus over it’s production life, including the provision of a headphone socket. I fitted the missing headphone resistors when I had it apart. It’s all a bit useless though, because plugging in headphones does not mute the speakers. I ended up using an external headphone amplifier instead.
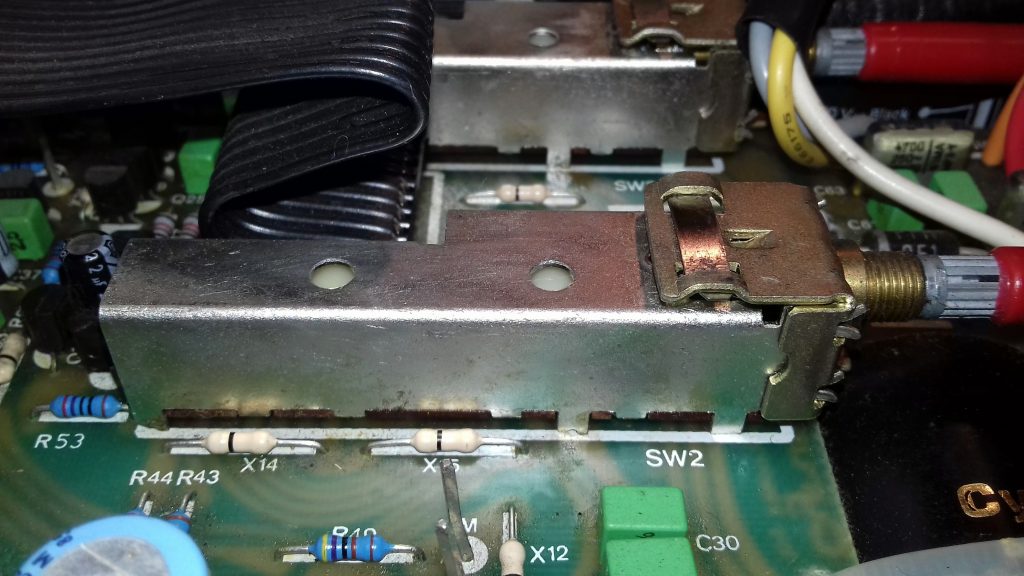
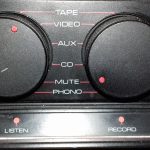
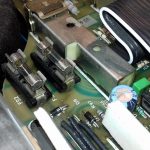
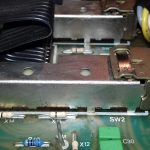
The real bane of these amplifiers in their twilight years is the input selector switches. Mine have been attacked with switch cleaner on many occasions but still occasionally cause me trouble. They are an unusual design and spares are not available. What I really need to do is remove them and give them a thorough internal clean.
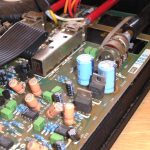
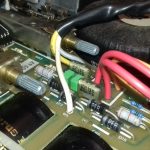
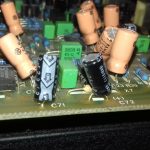
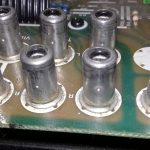
One thing that did help a lot was removing the circuit board and re-soldering many of the joints, particularly around mechanical components like sockets and switches.
I’ll finish with a gallery of full resolution images if the internals of this amp, which, despite needing occasional TLC, is a pleasure to own and sounds splendid.
