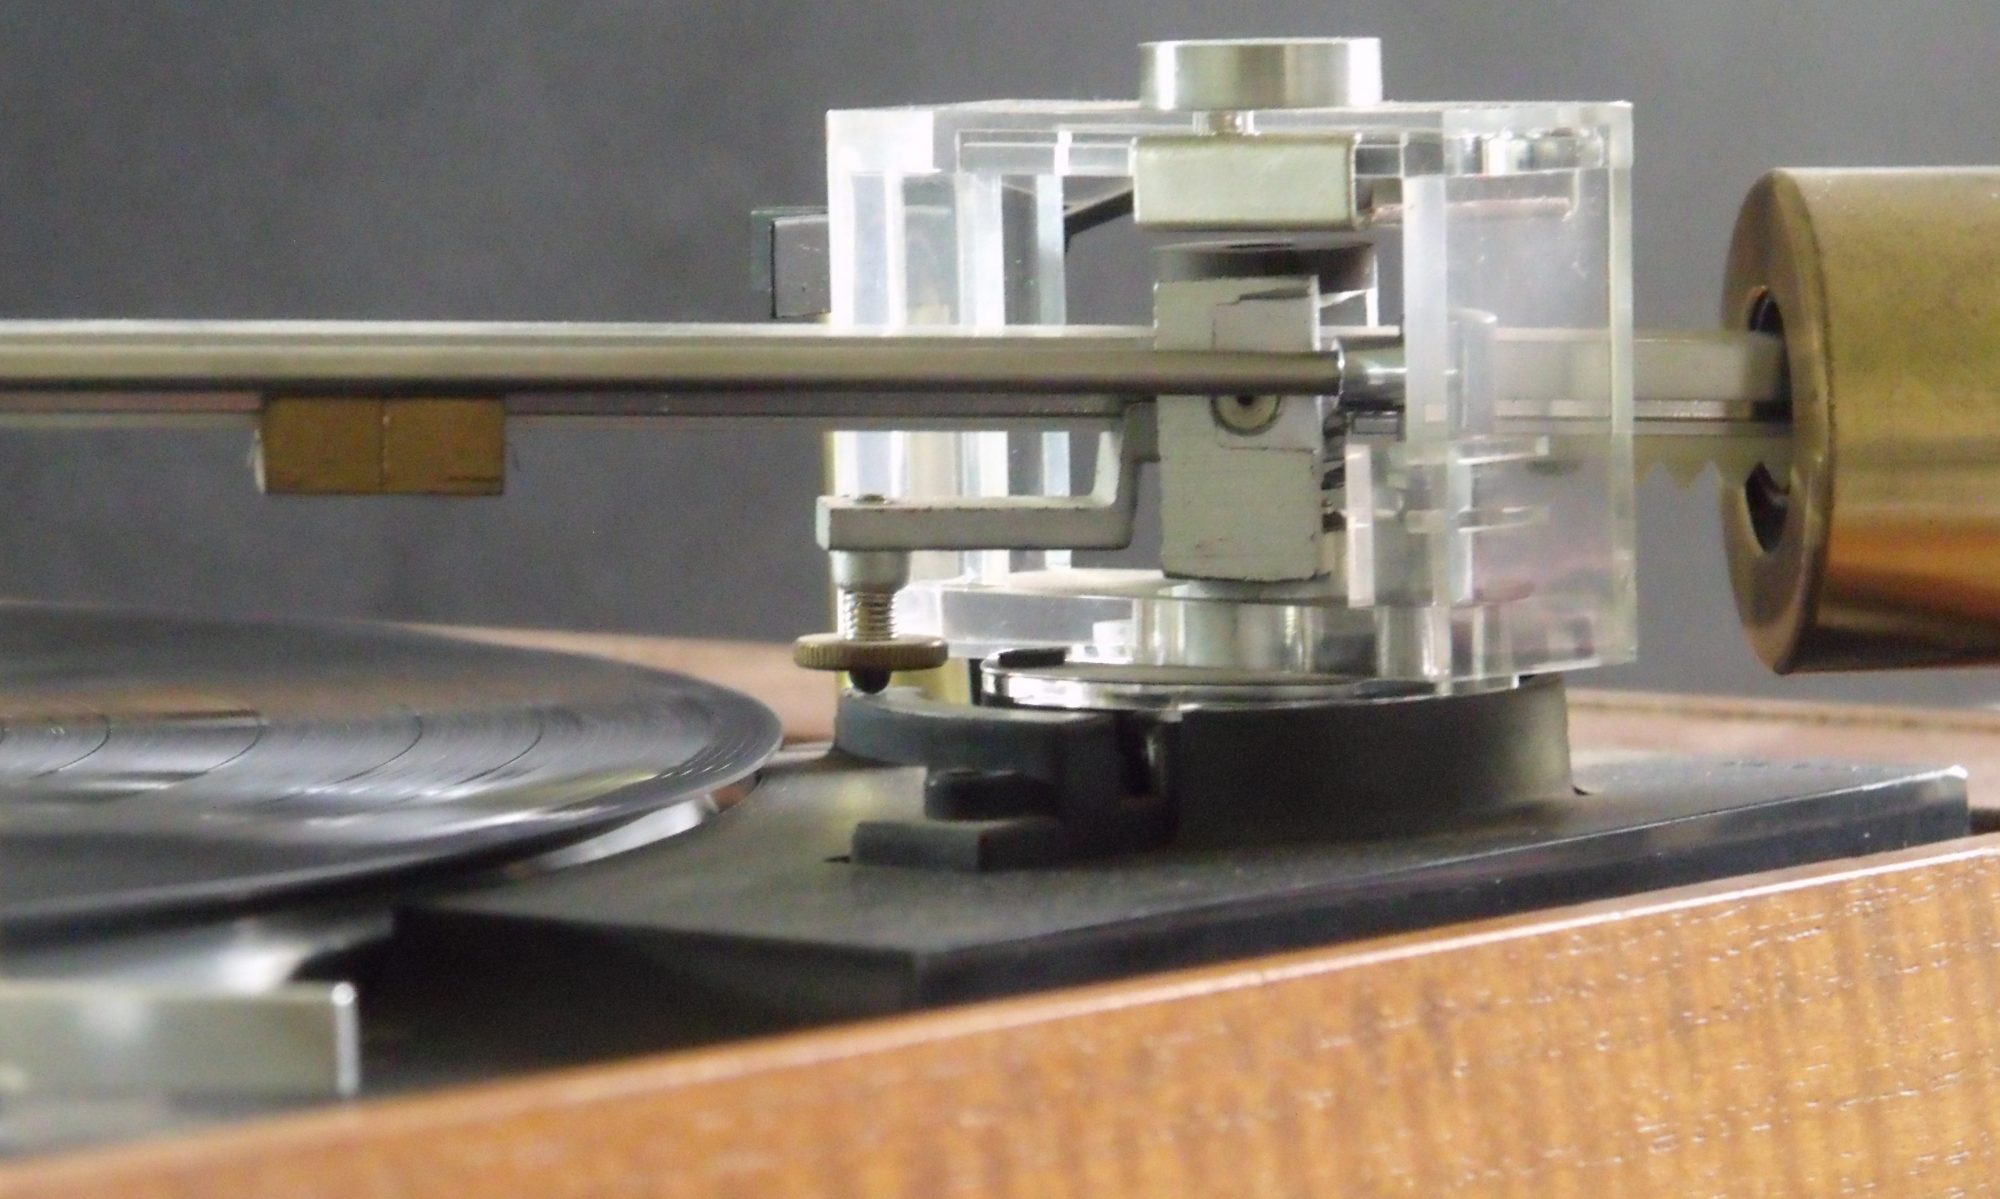
My obsession for monitoring the life of my turntable stylus was satisfied when I built my “Play Mate” monitor. It did the job but boy it was ugly.
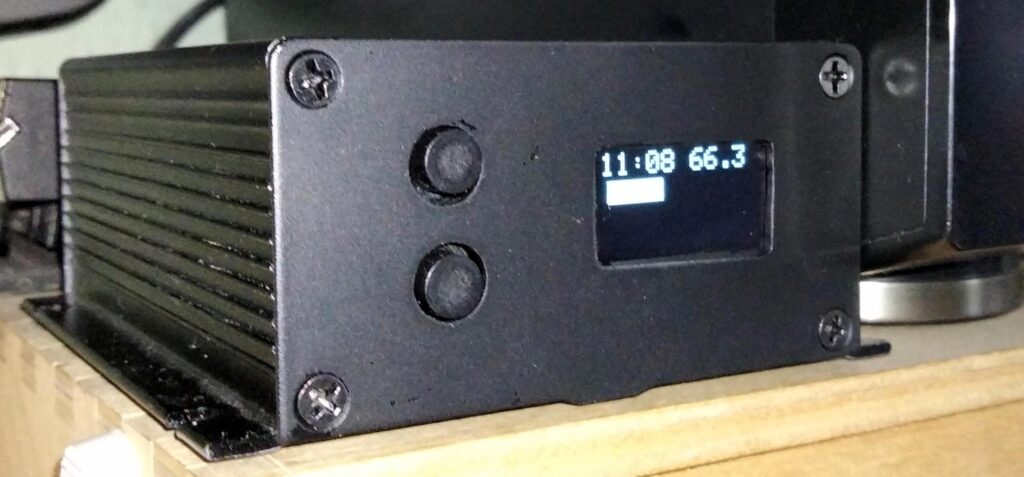
Only now have I got around to making an aesthetically pleasing version.
The original worked well. It’s function and technical background are described in my original article, so I won’t dwell on that here.
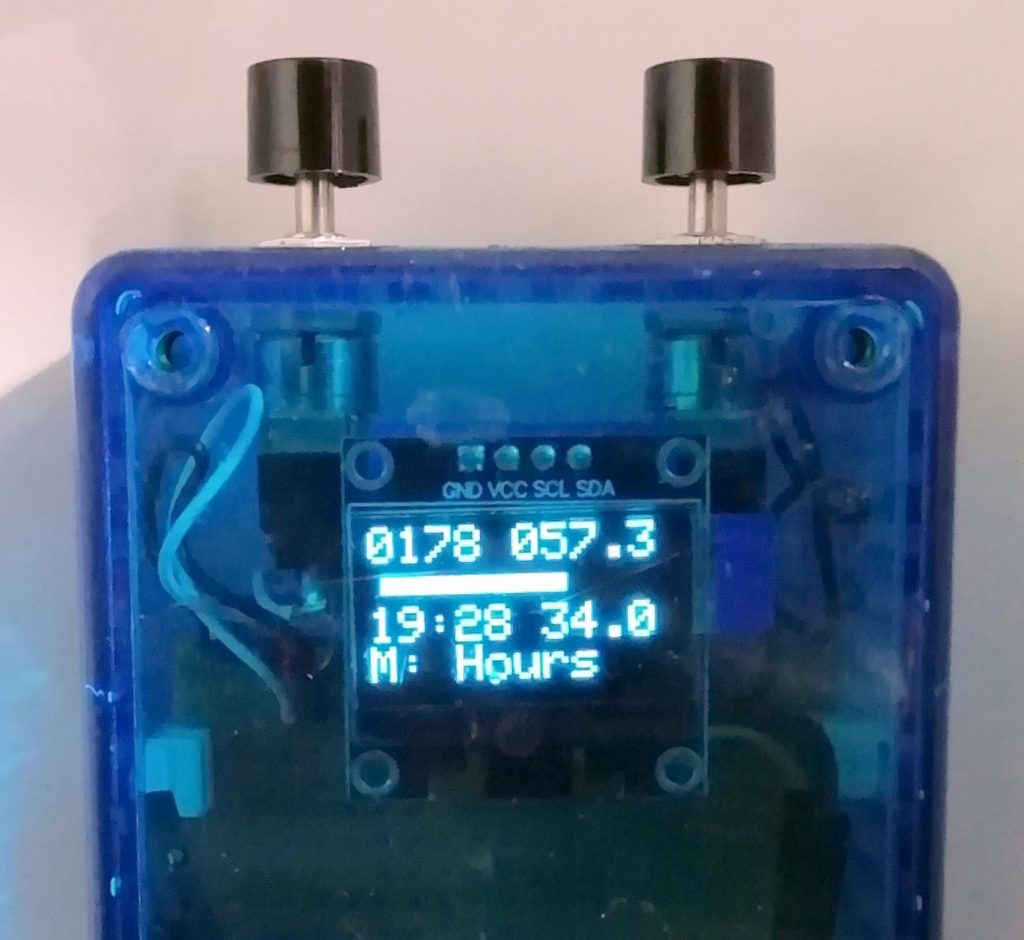
Even with it’s great usefulnes, the steam punk charm of the blue plastic case wore off after a while. Time for a cosmetic re build. I just purchased an aluminium case from eBay and set about building new hardware. The original will be re-programmed to become something completely different in due course.
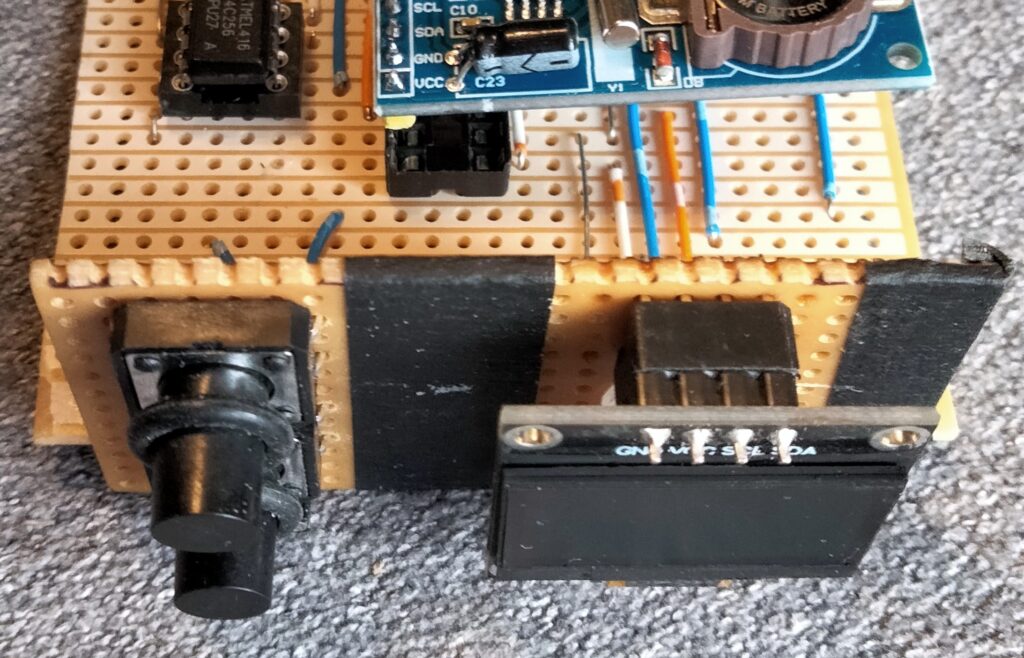
The most difficult part of this build was mounting the switches and display so that they aligned with the holes carefeully cut out of the case front. The mounting came first, then I marked up and cut the case. The black tape visible here is to prevent the workings from being visible through any slight alignment gaps in the case arpetures. The O rings on the push switches serve a similar aesthetic purpose.
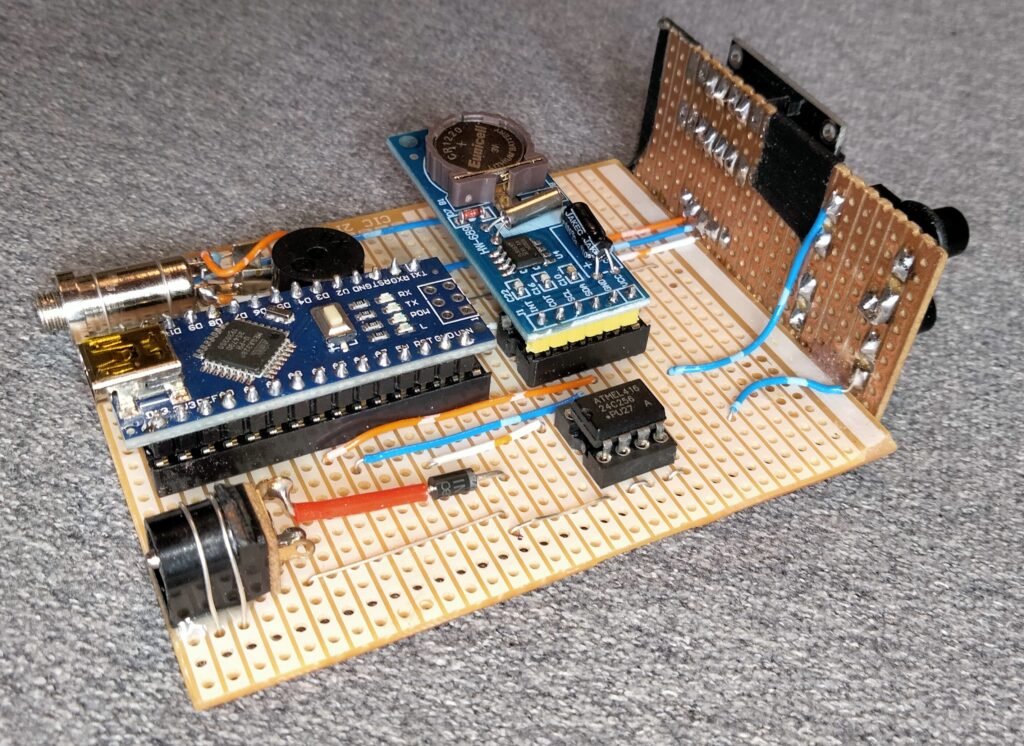
Use of strip board enable a neat and economical construction for a one off project such as this. The power and sensor sockets are secured with araldite and loops of wire solderd to the board. The Arduino Nano is socket mounted with the USB connector conveniently located for external access. The back panel has holes sutably measured and cut to accommodate these three connectors.
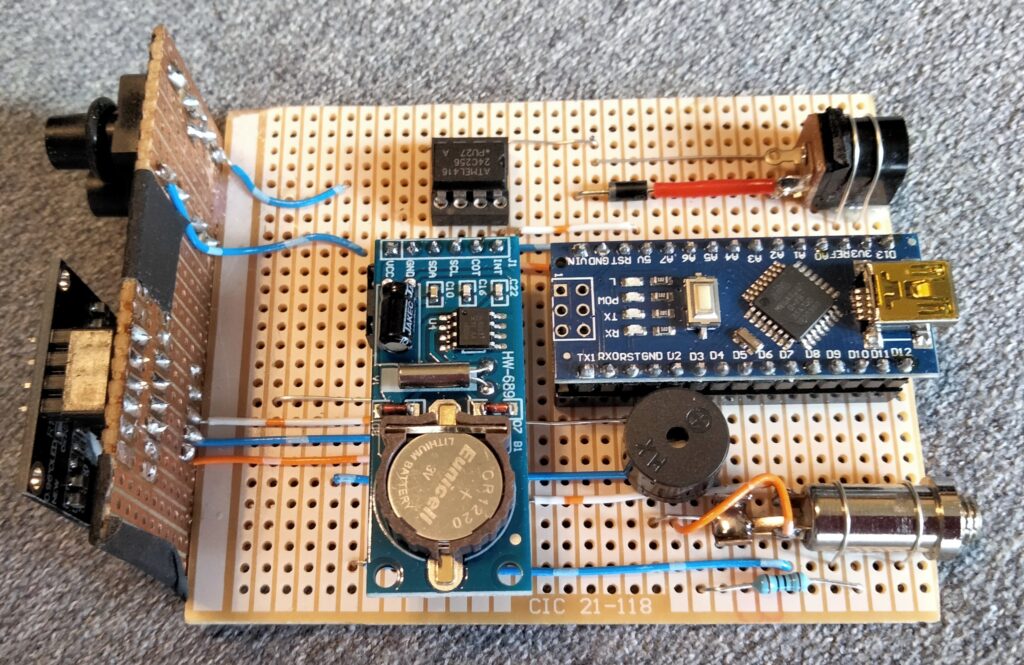
Again an i2c module for the real time clock and it’s associated battery and crystal is employed. I dispensed with the module for the EEPROM this time and just soldered an 8 pin socket straight to the board. A buzzer completes the component count.
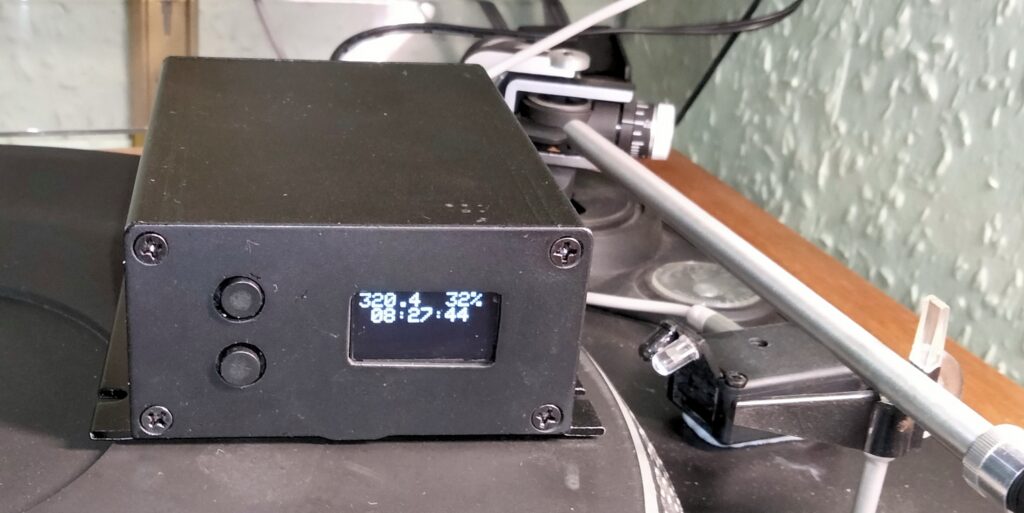
Here it is seen posed next to it’s associated optical sensor unit, which detects turntable rotation. A vast improvement on the original I trust you will agree.
