I love FM radio, and I love my Cyrus Two amp. When I saw a Cyrus Tuner for sale on Facebook Market Place I had to have a closer look.
The price was right, and it was nearby, so a rendevous was arranged.
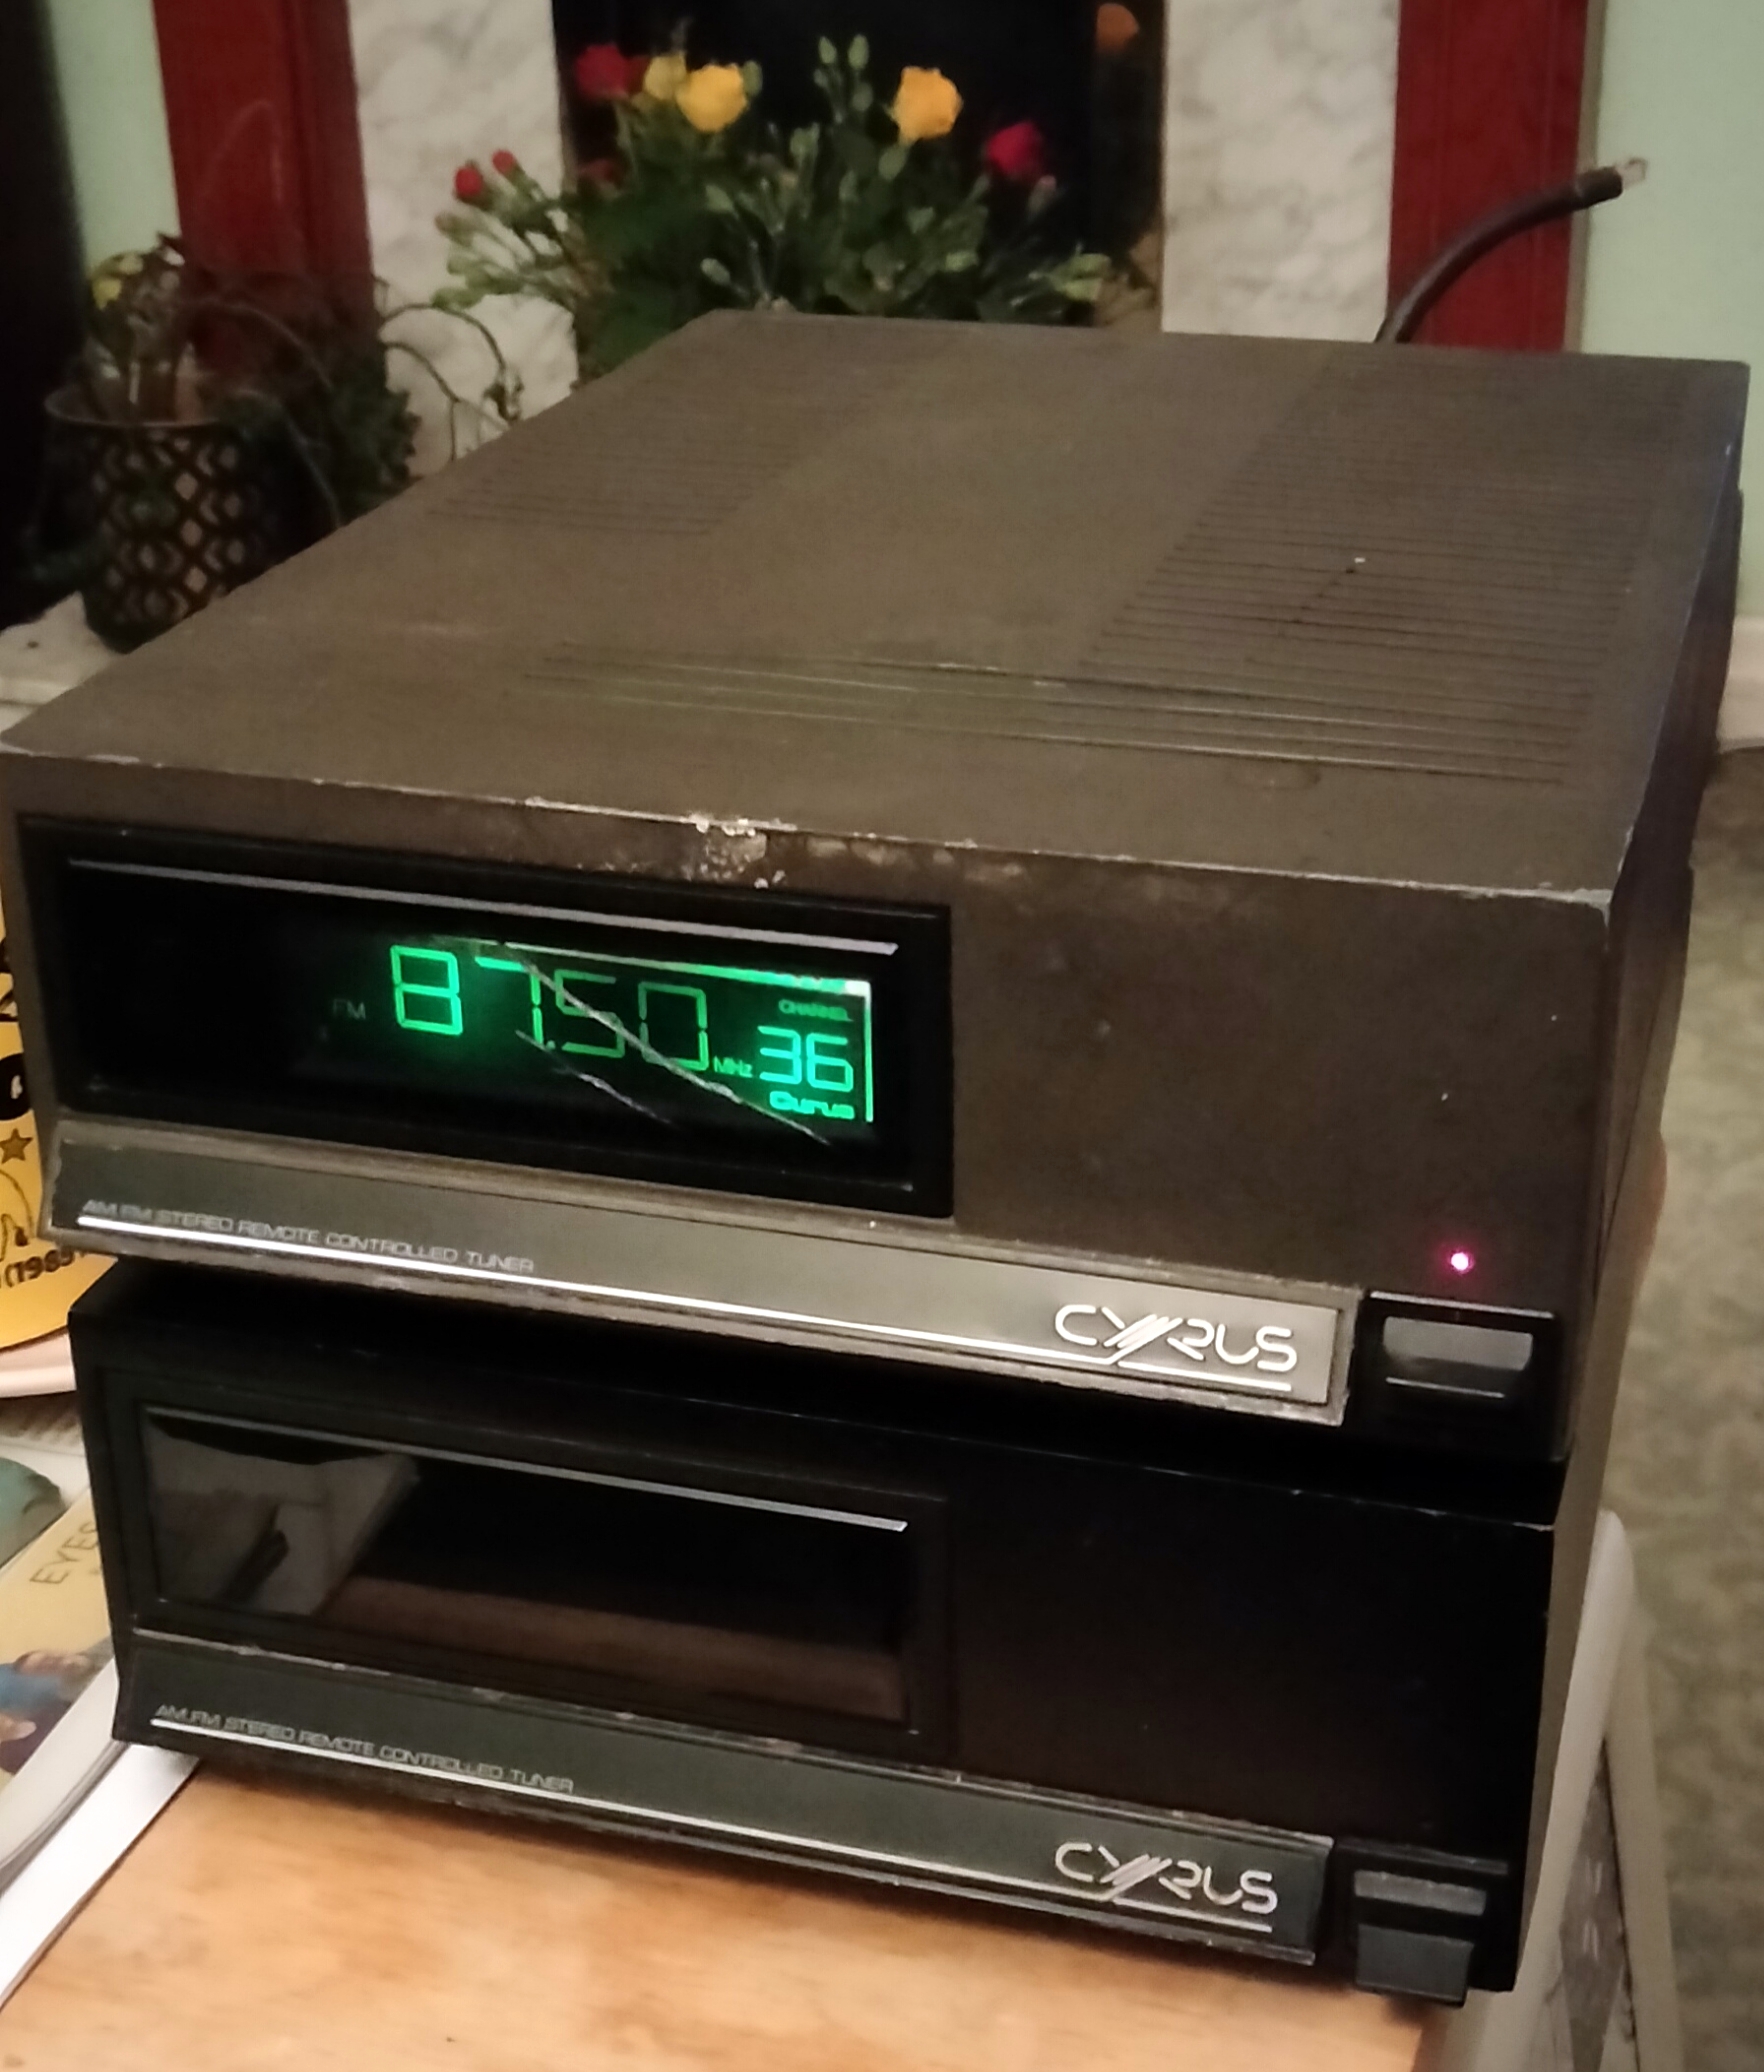
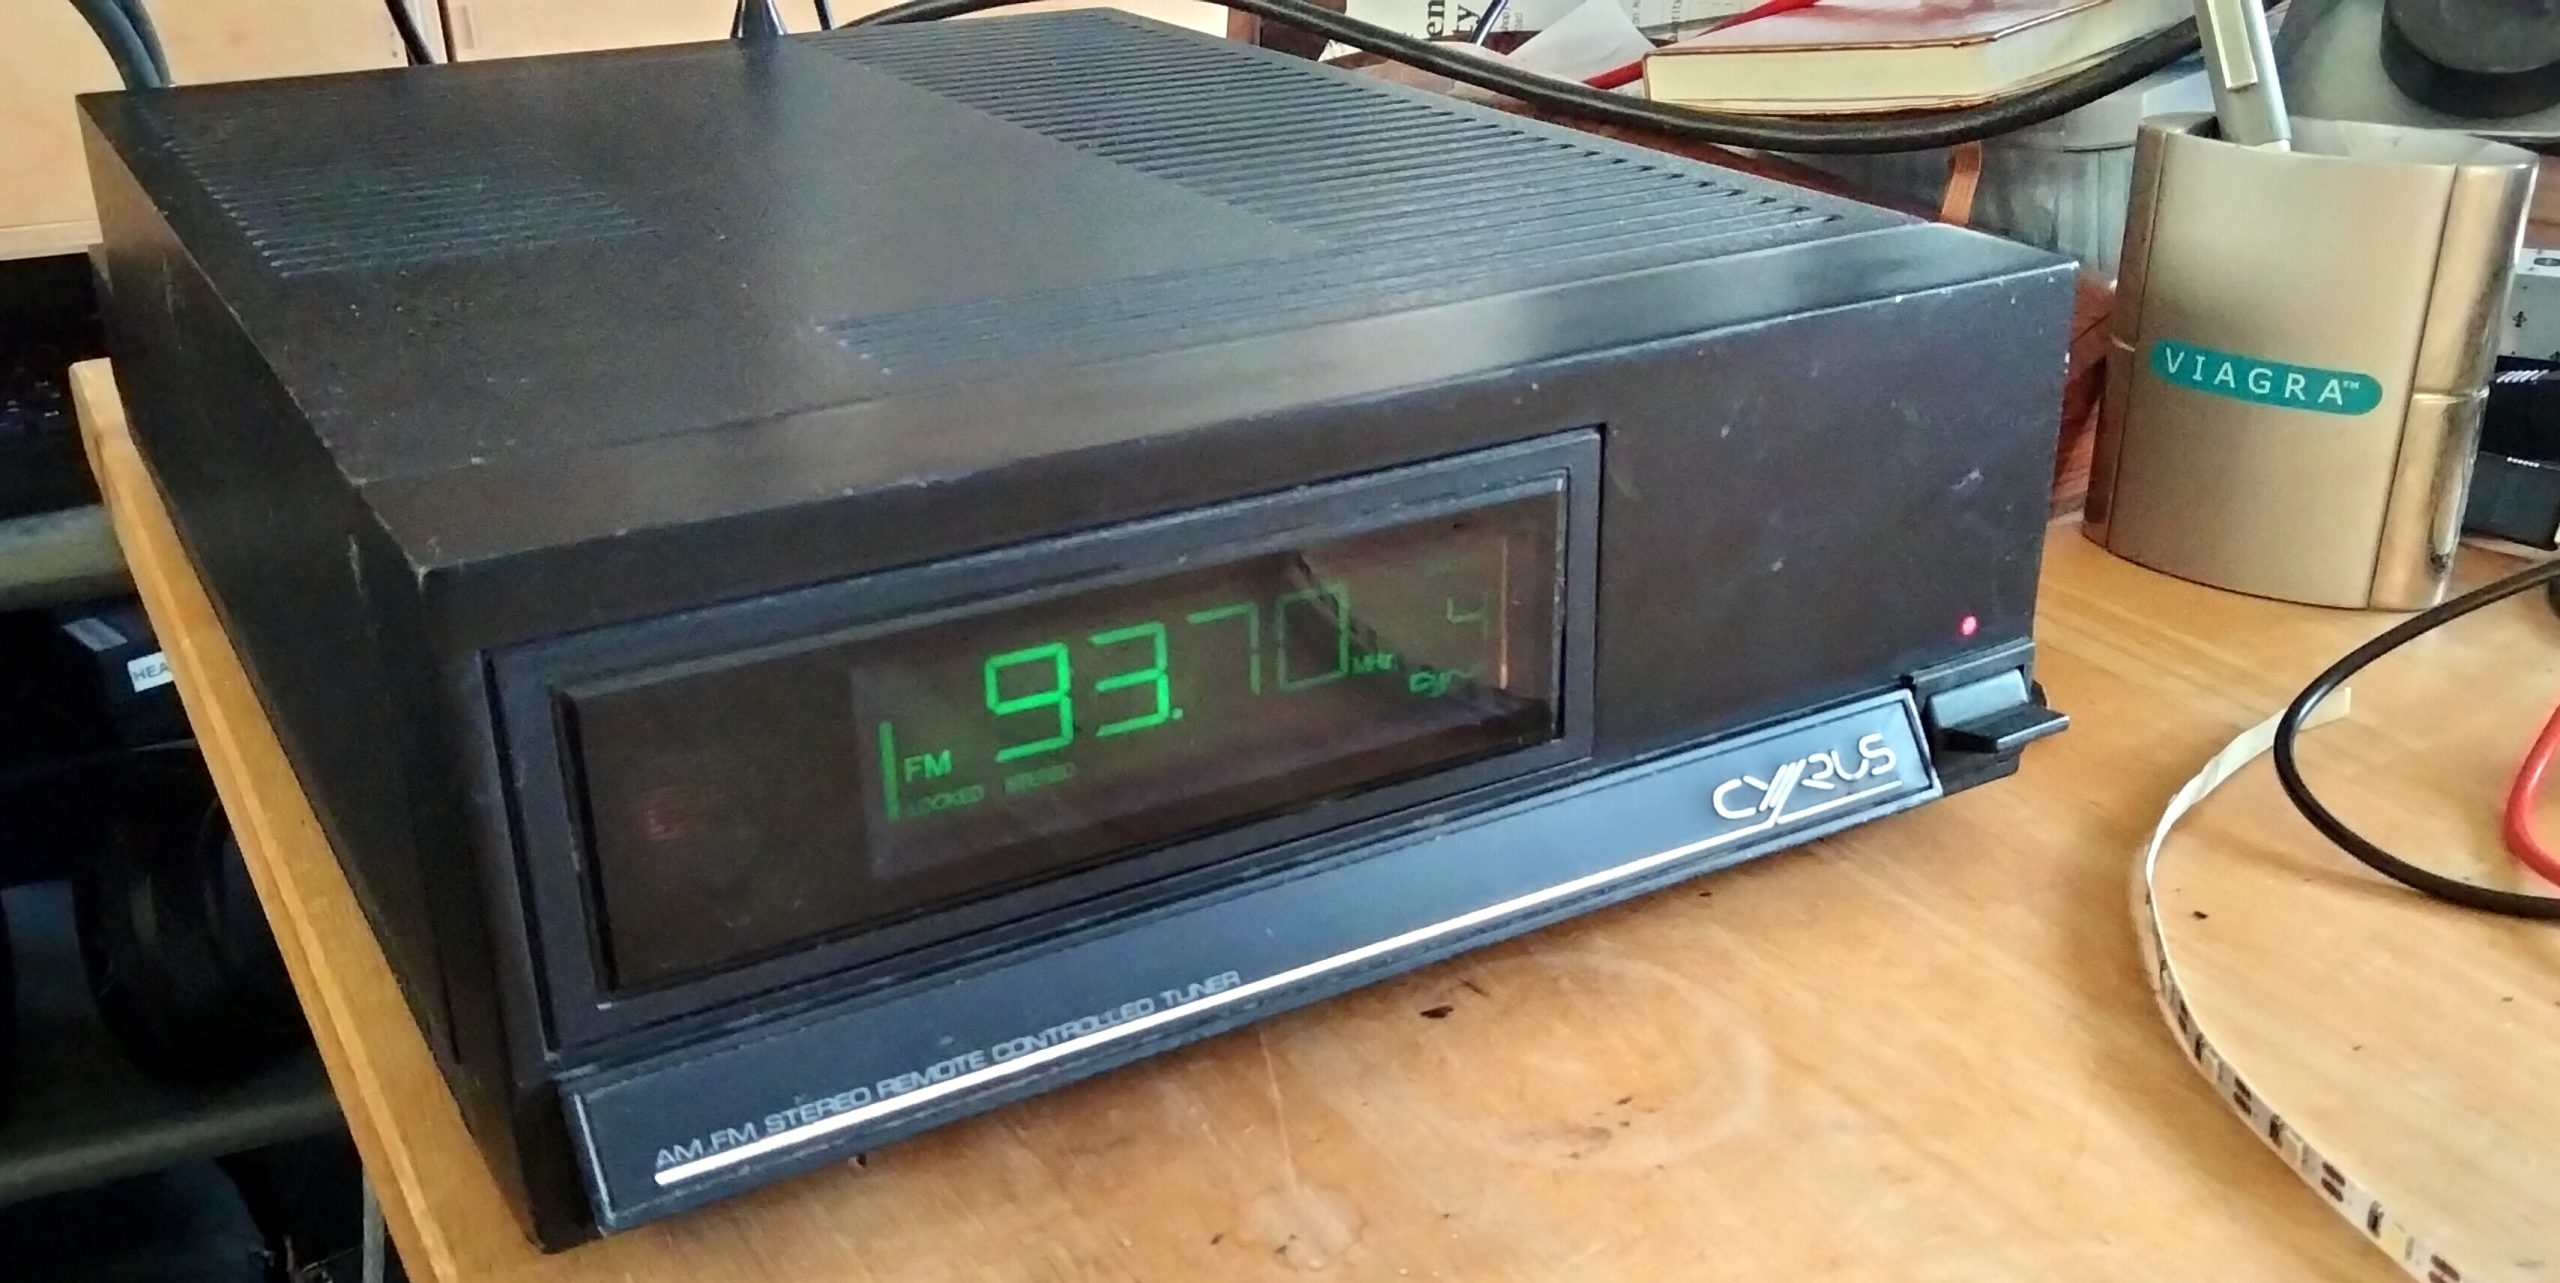
I was delighted to see that it was the version which cosmetically matches my amplifier. The seller told me he had another. It was not in great condition and he didn’t think he could sell it. I could have it for spares if I wanted. No extra charge! No Brainer. £30 for the two, and they both came with the essential remote controls.
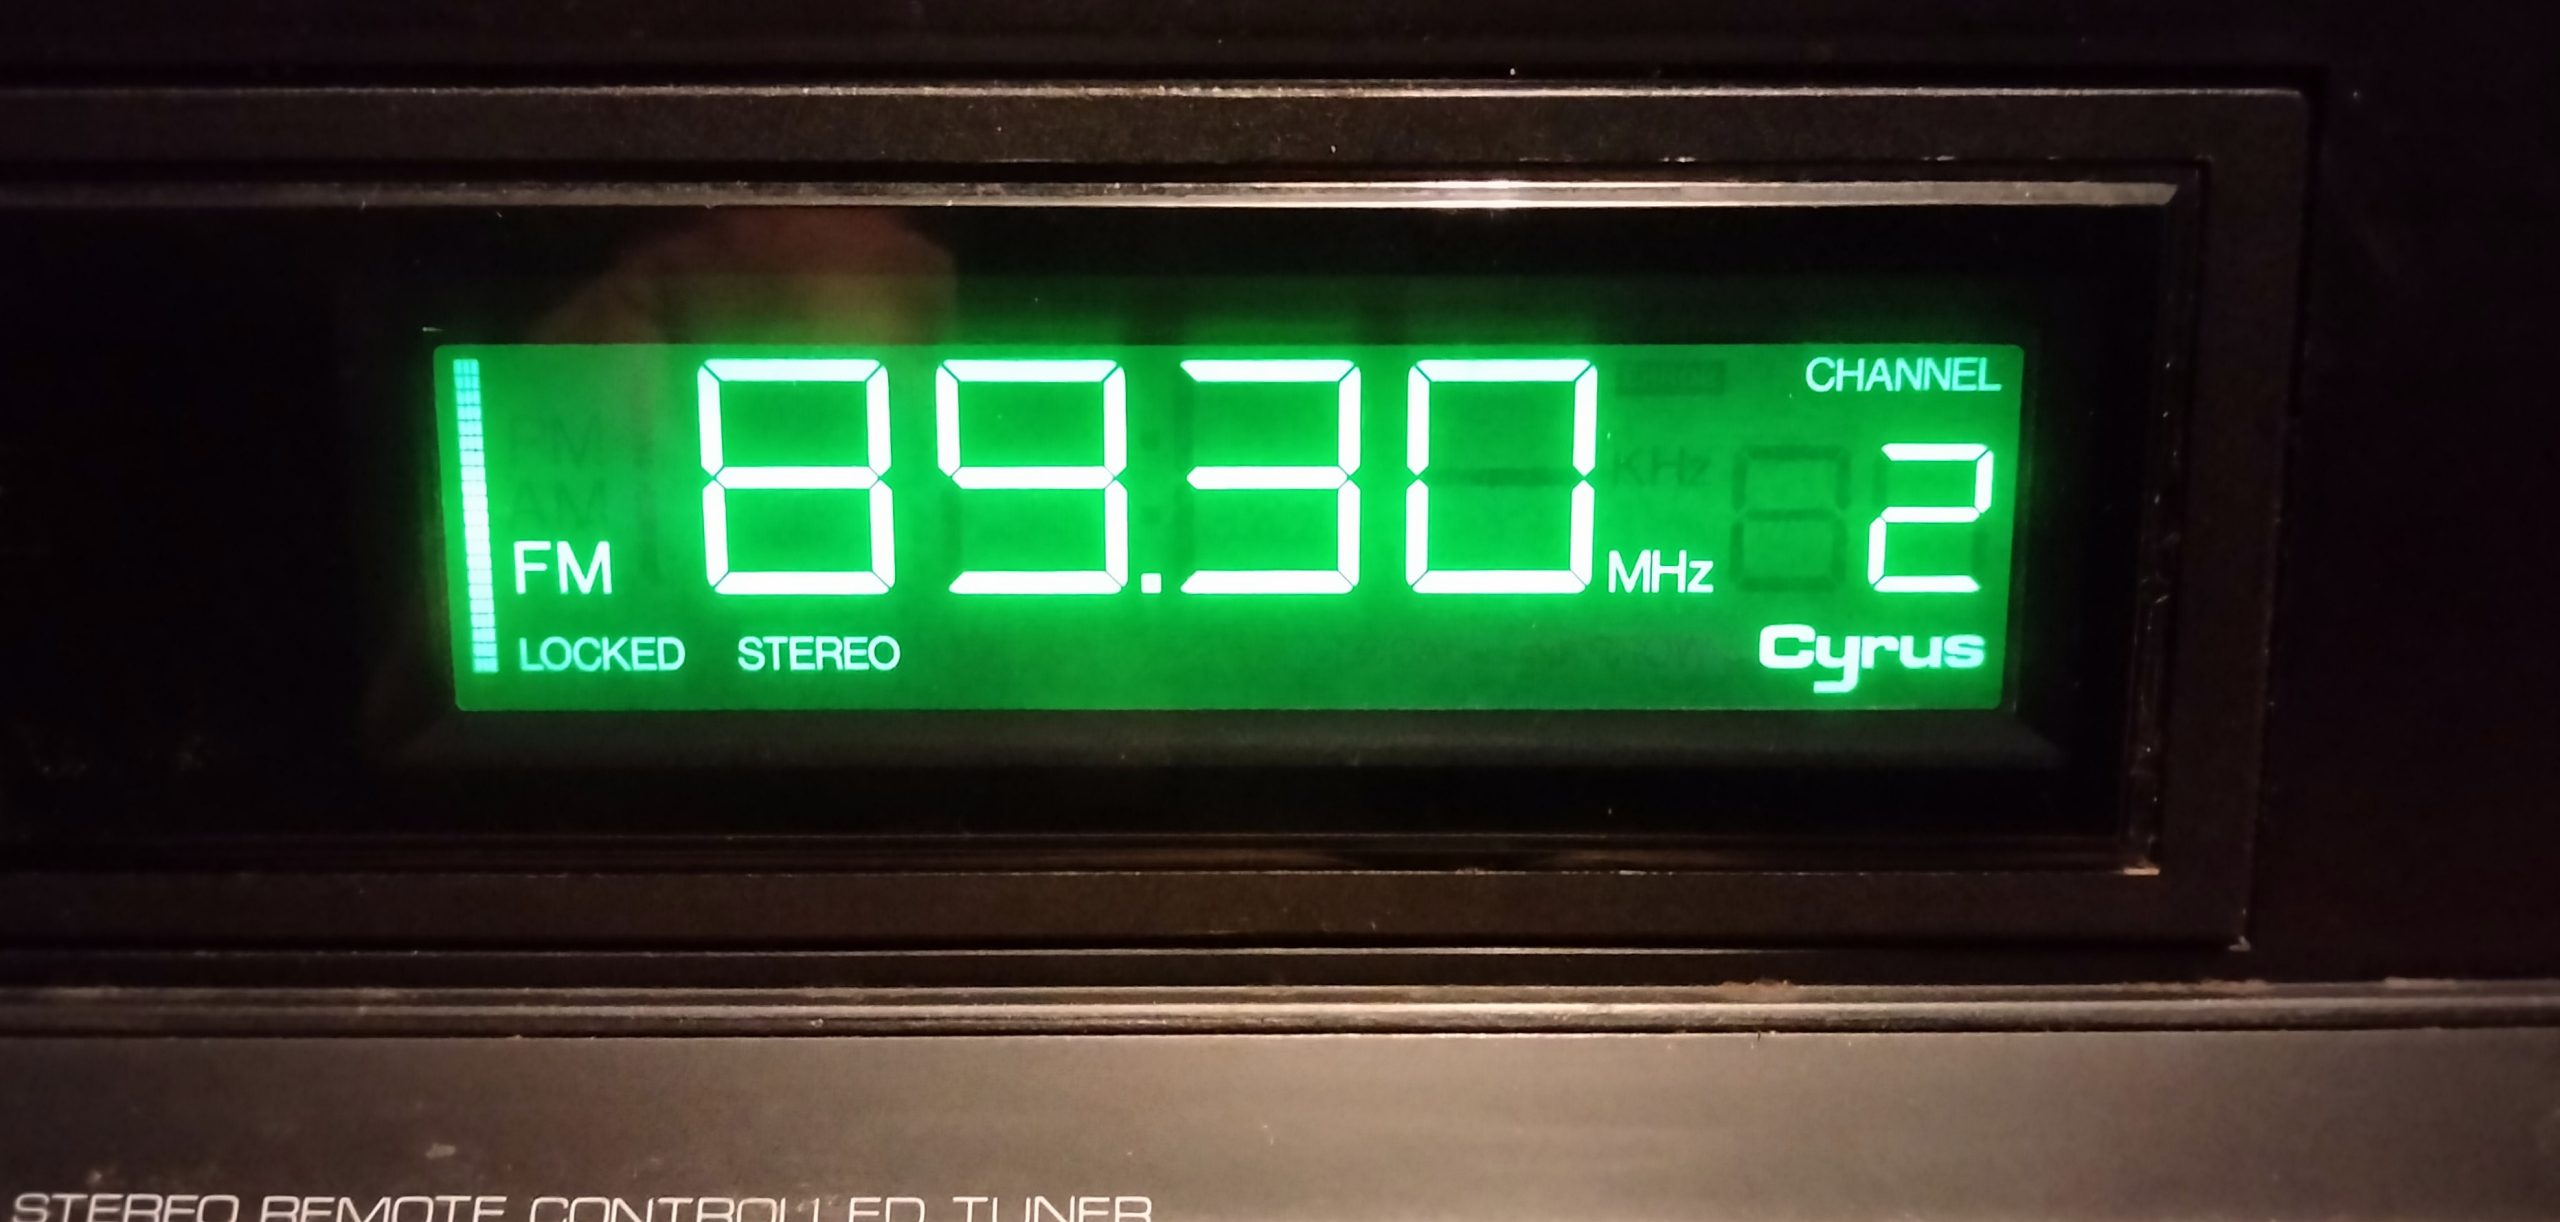
I immediately turned my attention to the “Good” one. I gingerly applied power and observed. It came on and the display showed what looked like the local frequency for BBC Radio 2. Feeling lucky, I put batteries in the remote and was delighted when the tuner responded. This is looking promising but let’s not get ahead of ourselves. There were a couple of things I wanted to address before risking connecting it to anything else
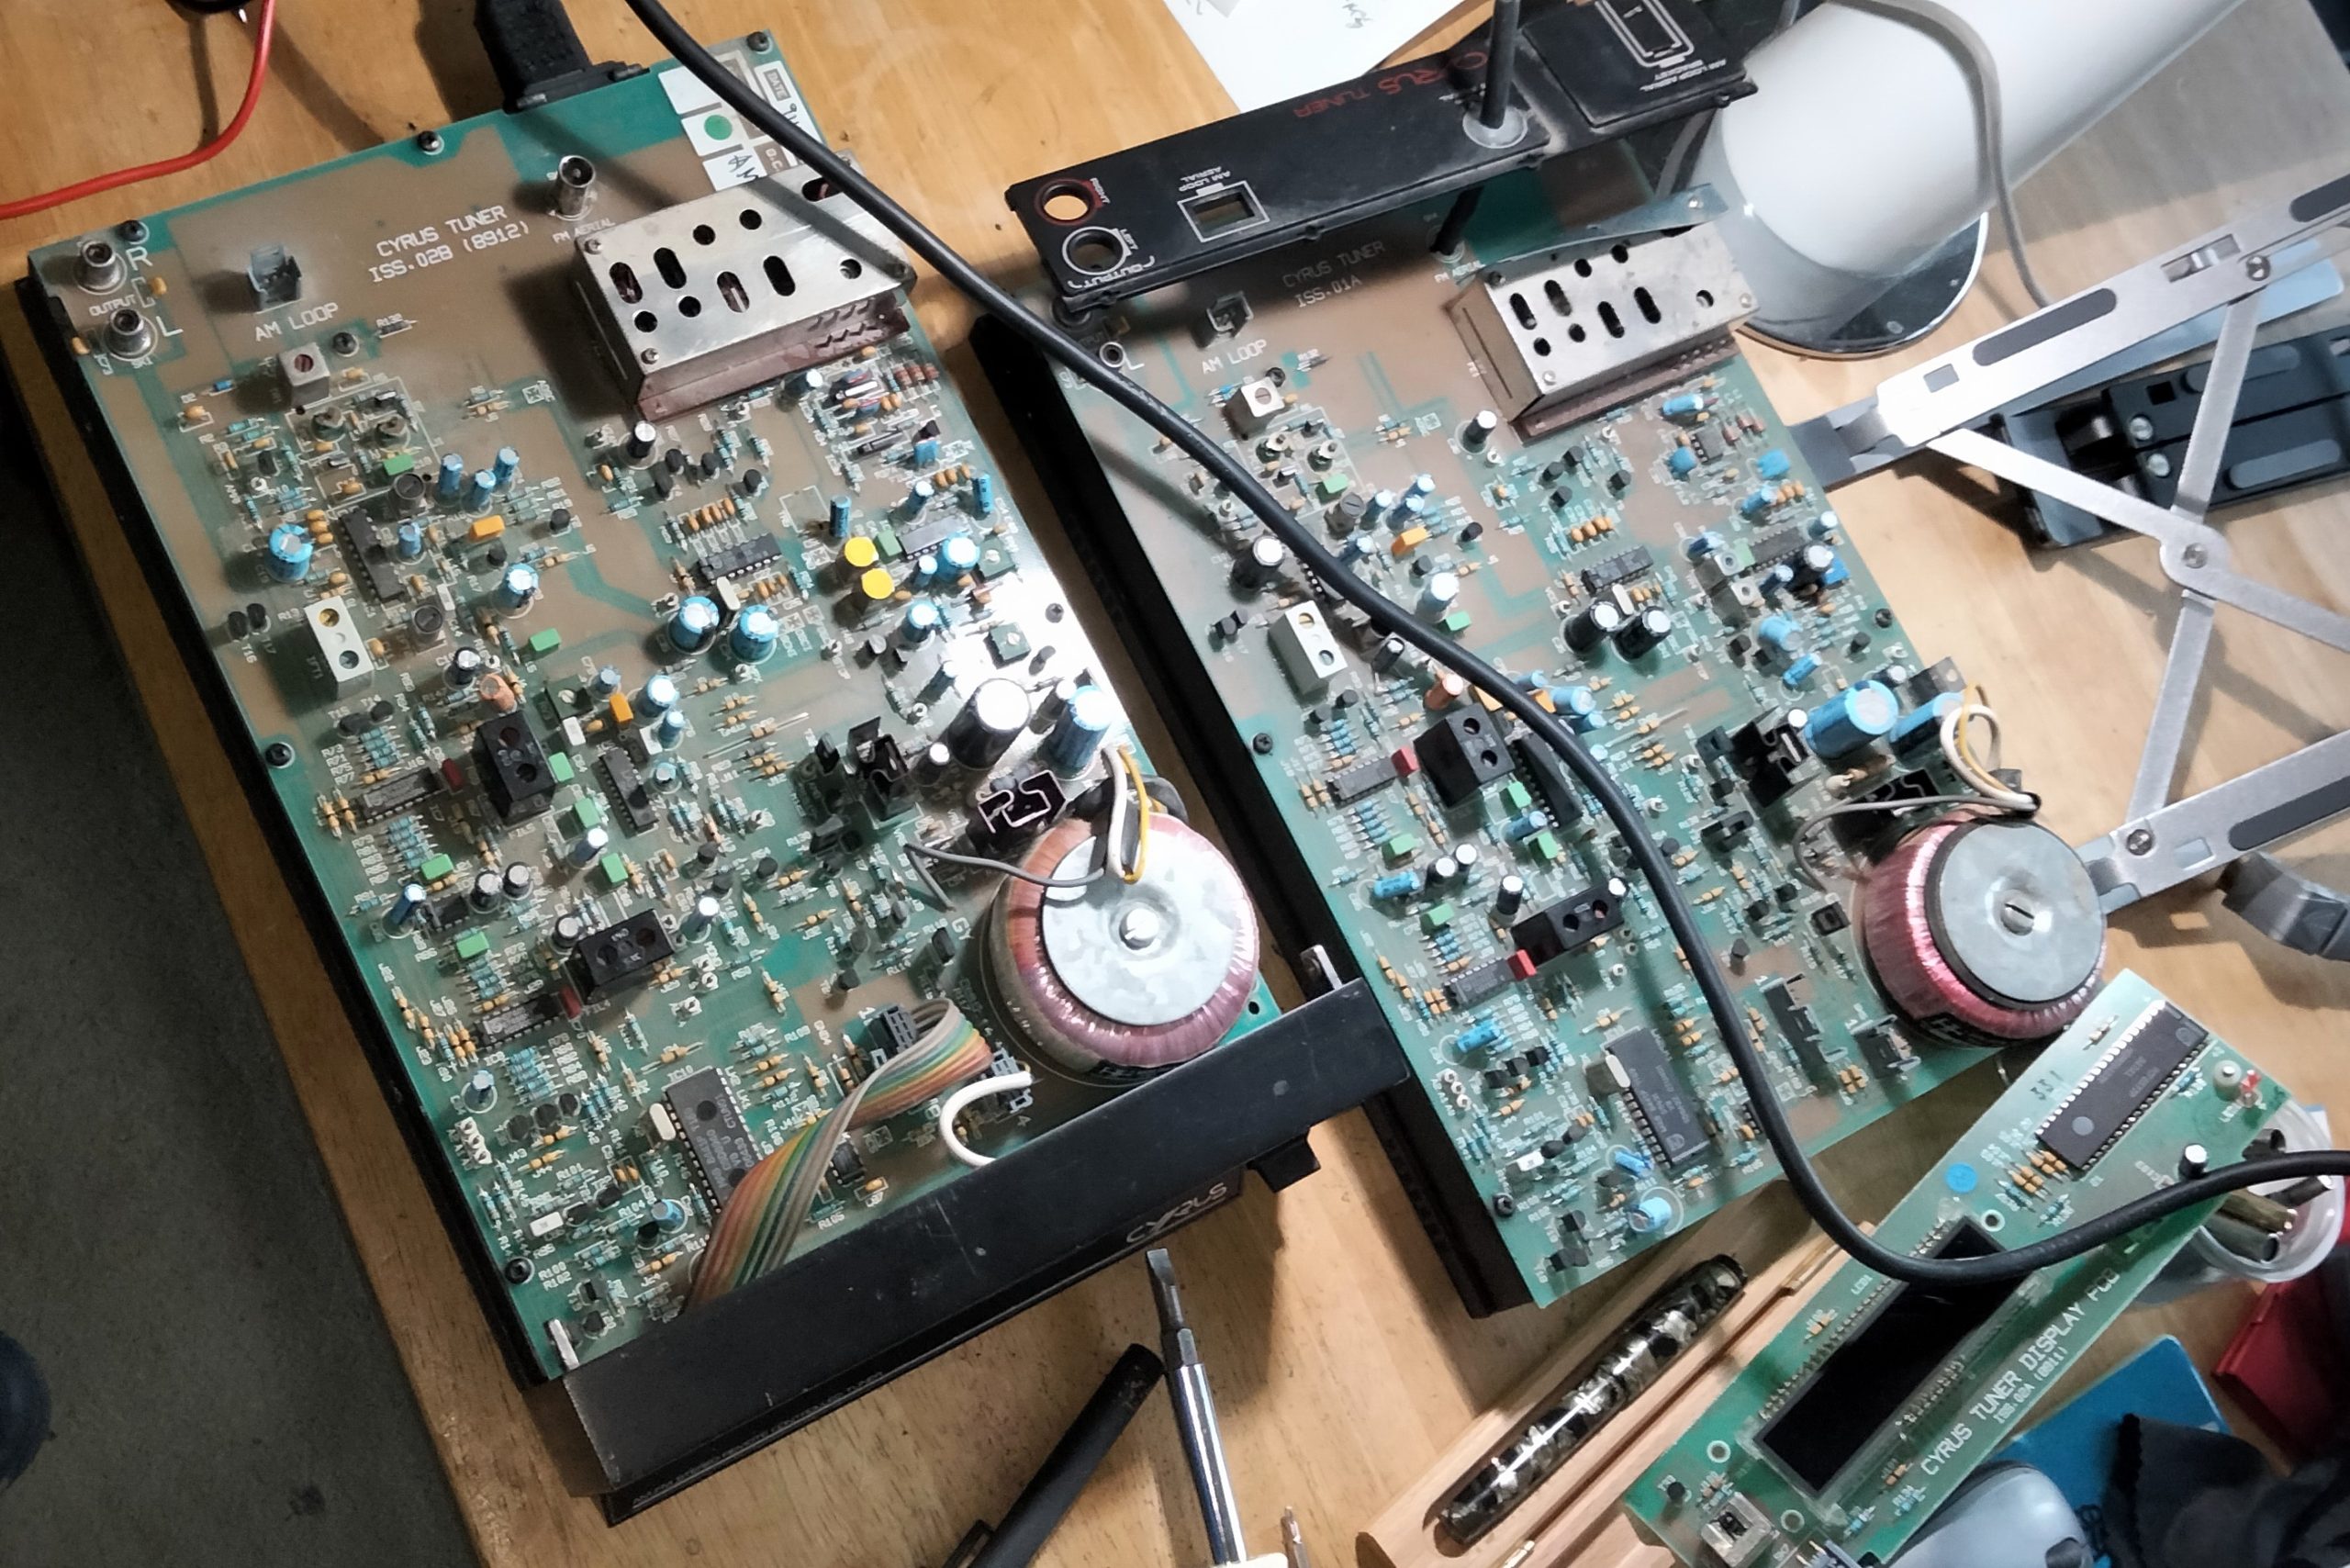
I could hear a 50Hz hum coming from within the case. This suggested a problem with the power supply part of the circuit. It’s always best to fix power issues straight away because they can cause damage eleshwere in the circuit. Off came the lids of both units. First I checked the supply voltages. RTFM here, because the circuit is more sophisticated that you would expect. In order to minimise noise, it only turns on what’s necessary. You have to switch between AM & FM and blank the display via the remote to fully test the power supply. All looks good, even with the oscilloscope. Usually mechanical noise would be something like a dead capacitor or diode, causing lumpy current in the transformer. No signs of that. Furthermore the unit has a toroidal transformer, a quieter alternative only found in higher quality units.
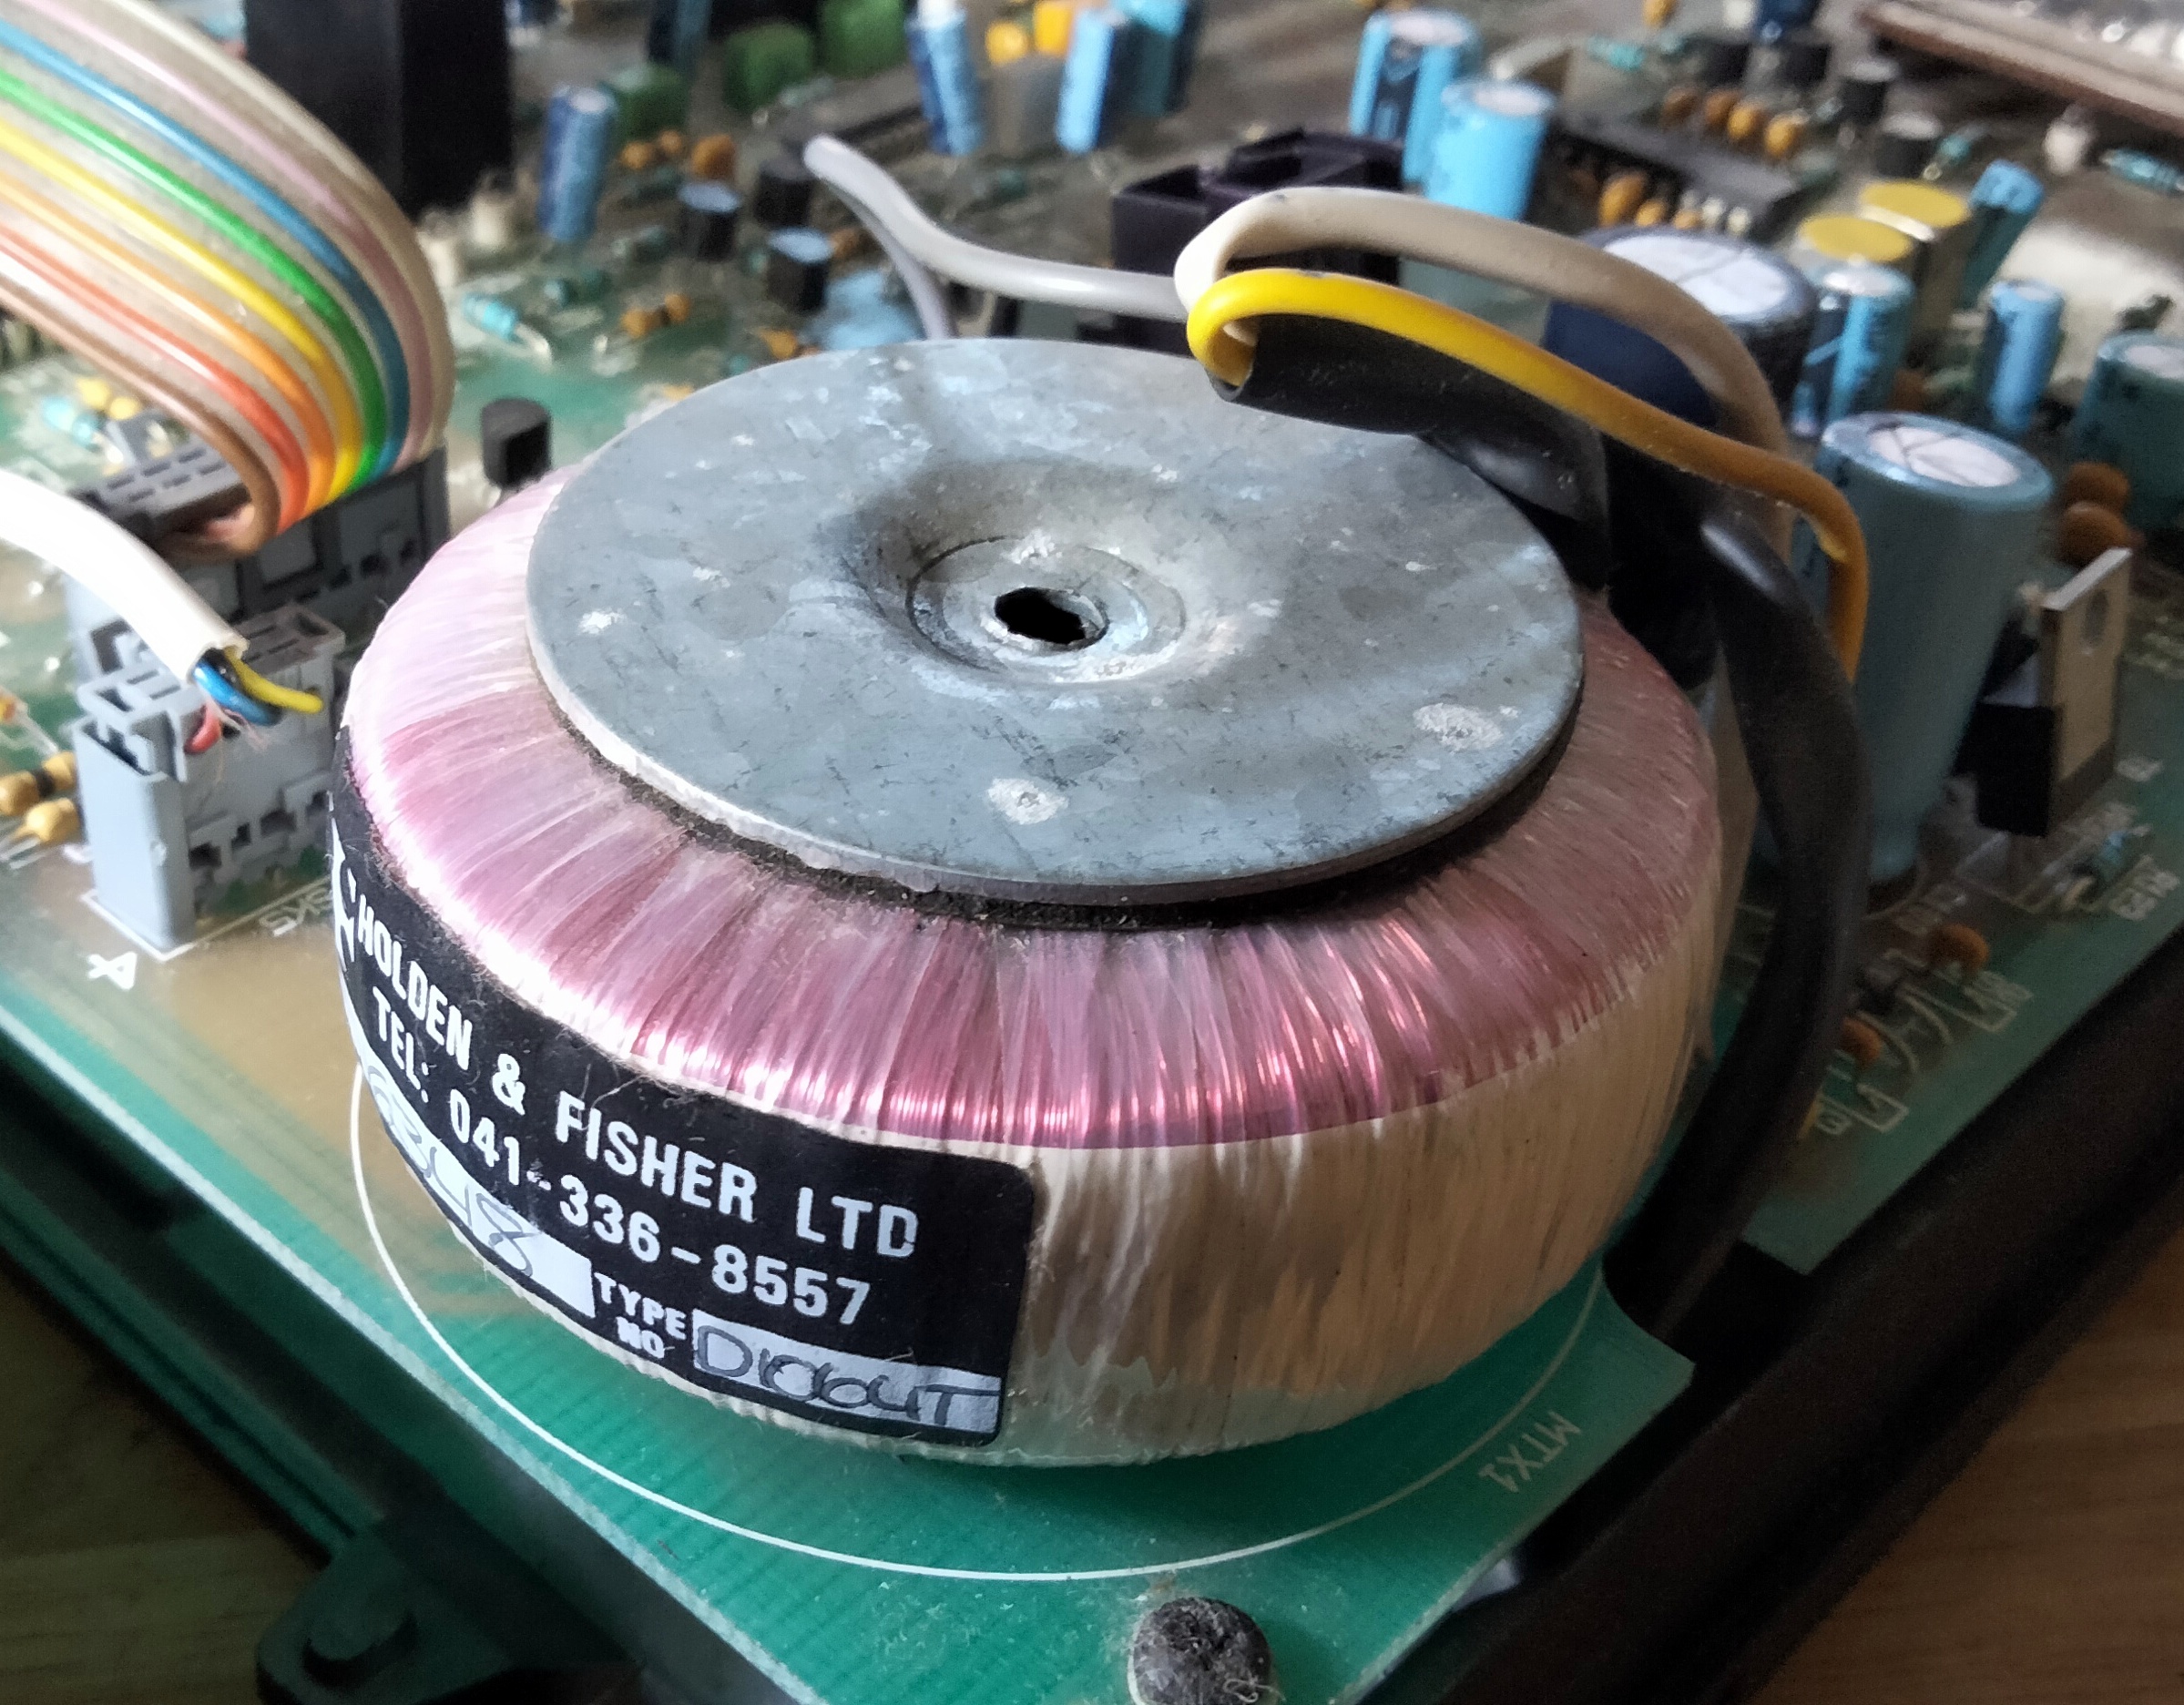
I’ve got two of them, so I compared the two. Same measurements, but no mechanical noise? Then I spotted it. The transformer is mounted directly to the PCB, with a single bolt and rubber washers. The latter had gone rock hard with age. The small vibration, which is normal for any transformer, was being transferred directly to the PCB which acted like a sound board and broadcast the hum loudly.
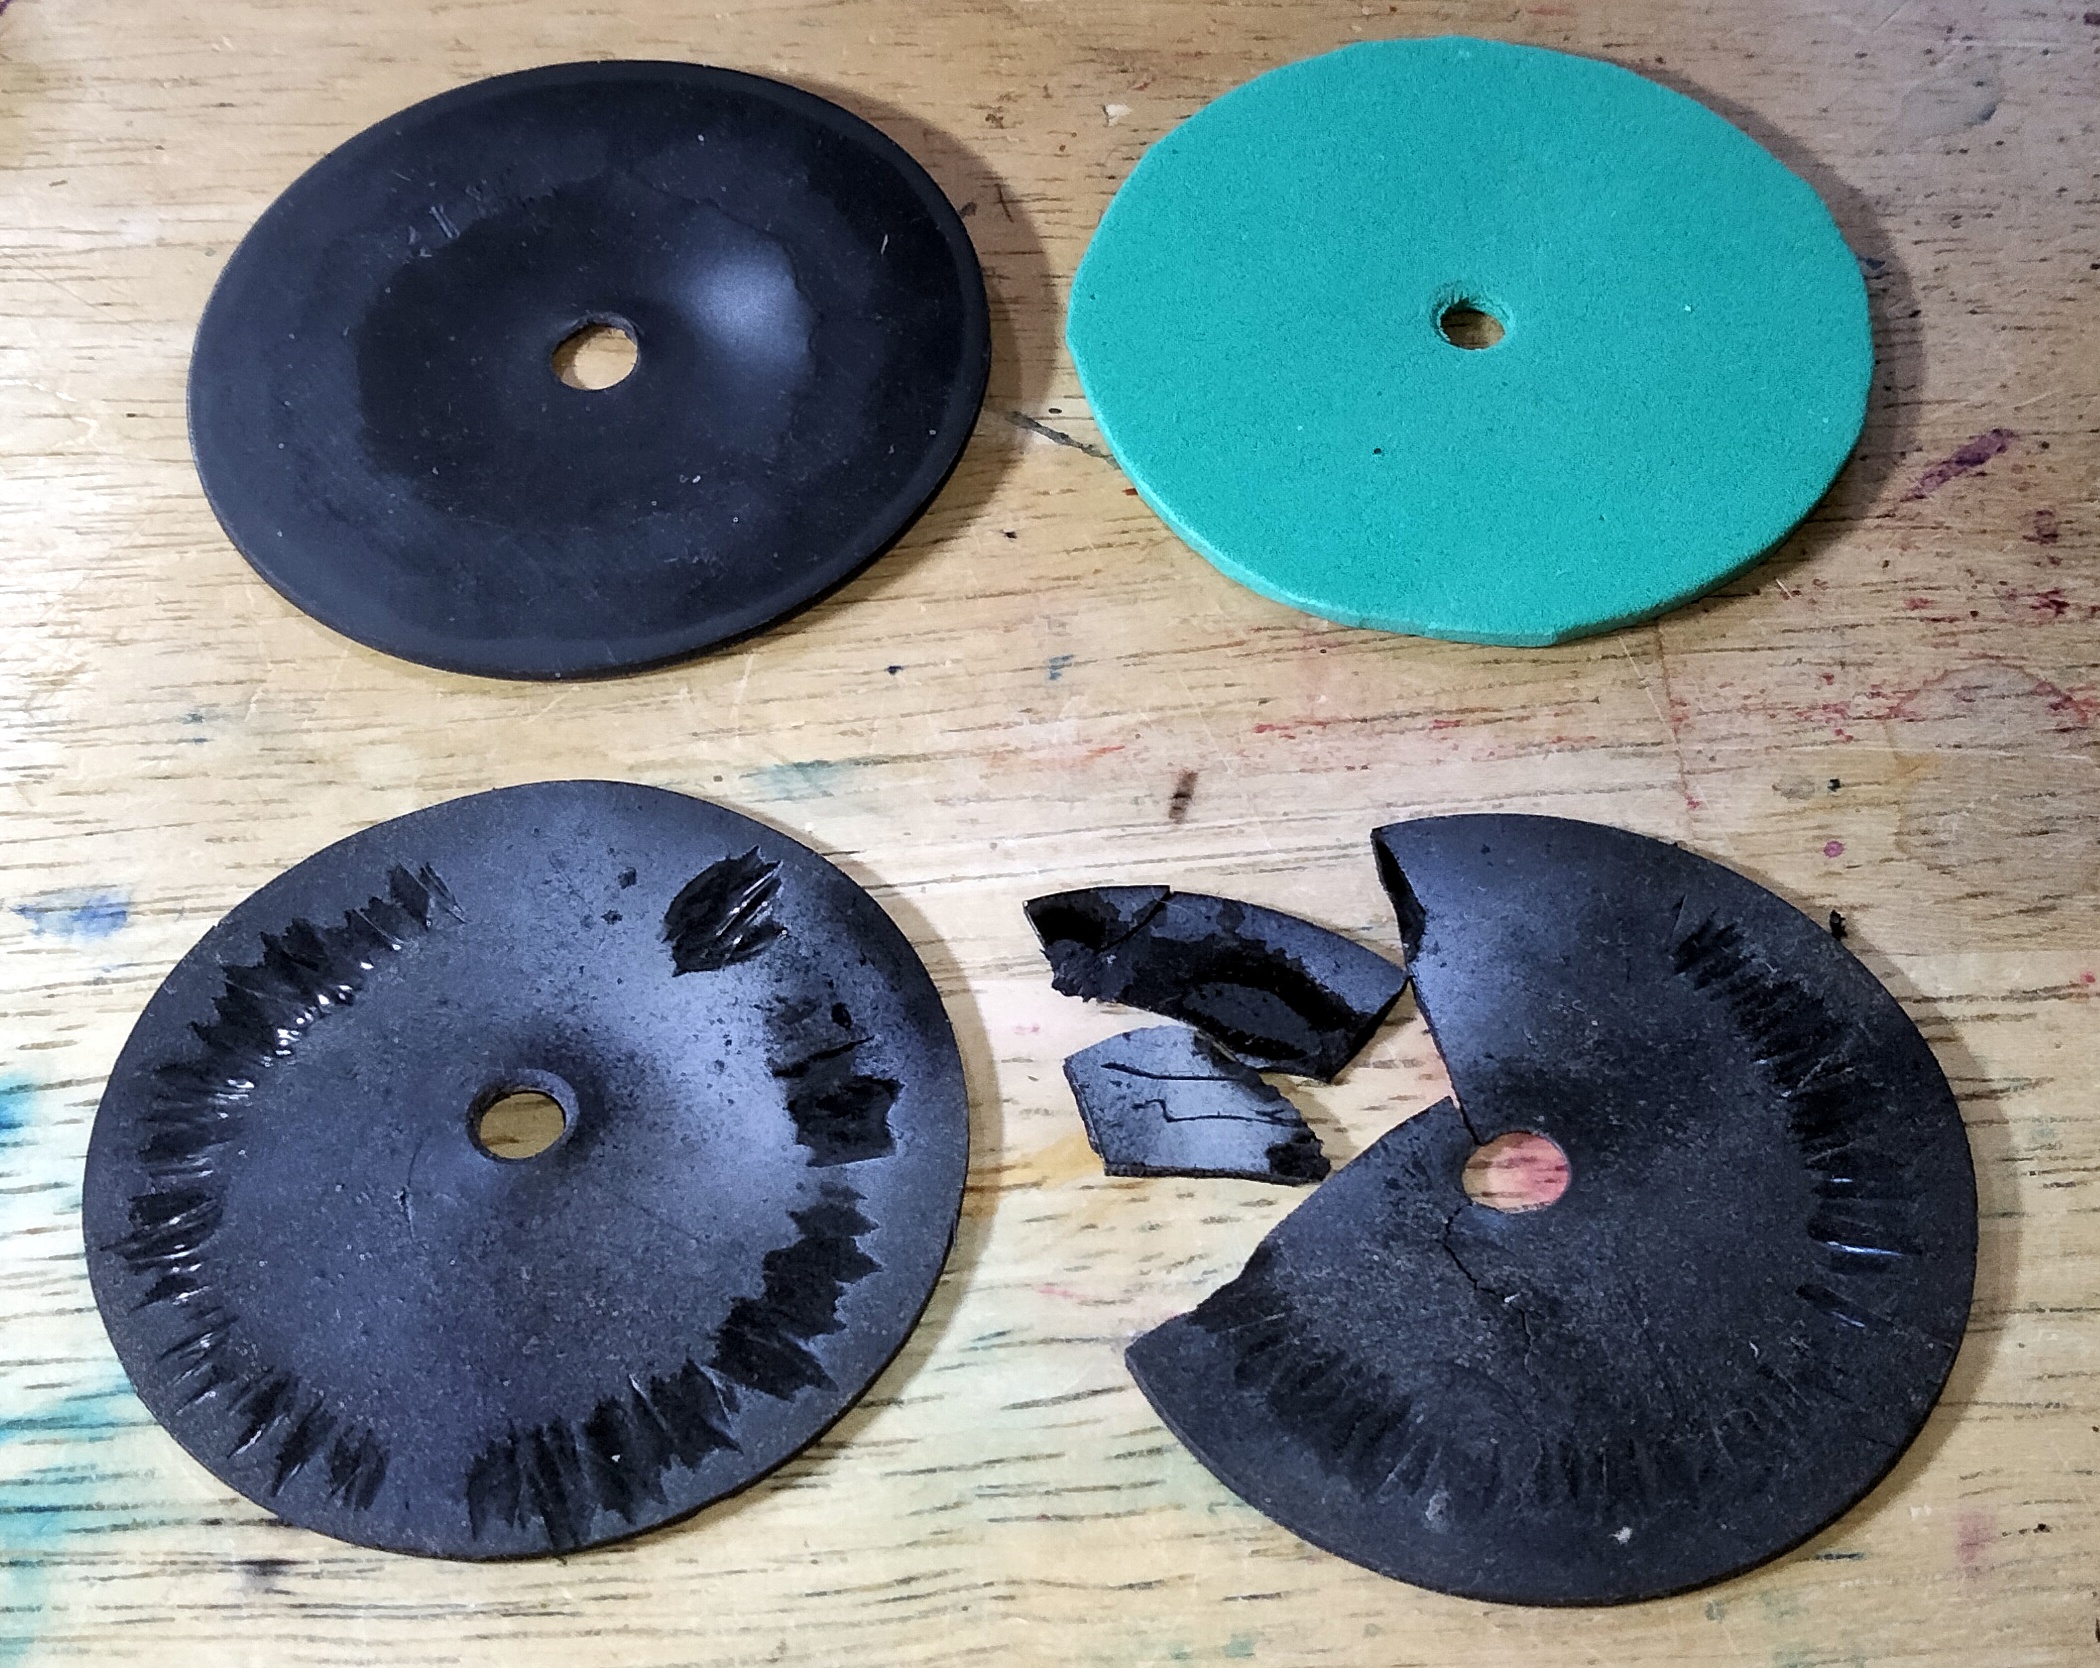
The hard brittle washers fell apart in my hands as I removed them. Fortunately I had the second unit to use as a reference to cut out a pair of new washers from green neoprene sheet. The noise went away with the fresh washers fitted to absorb the vibration.
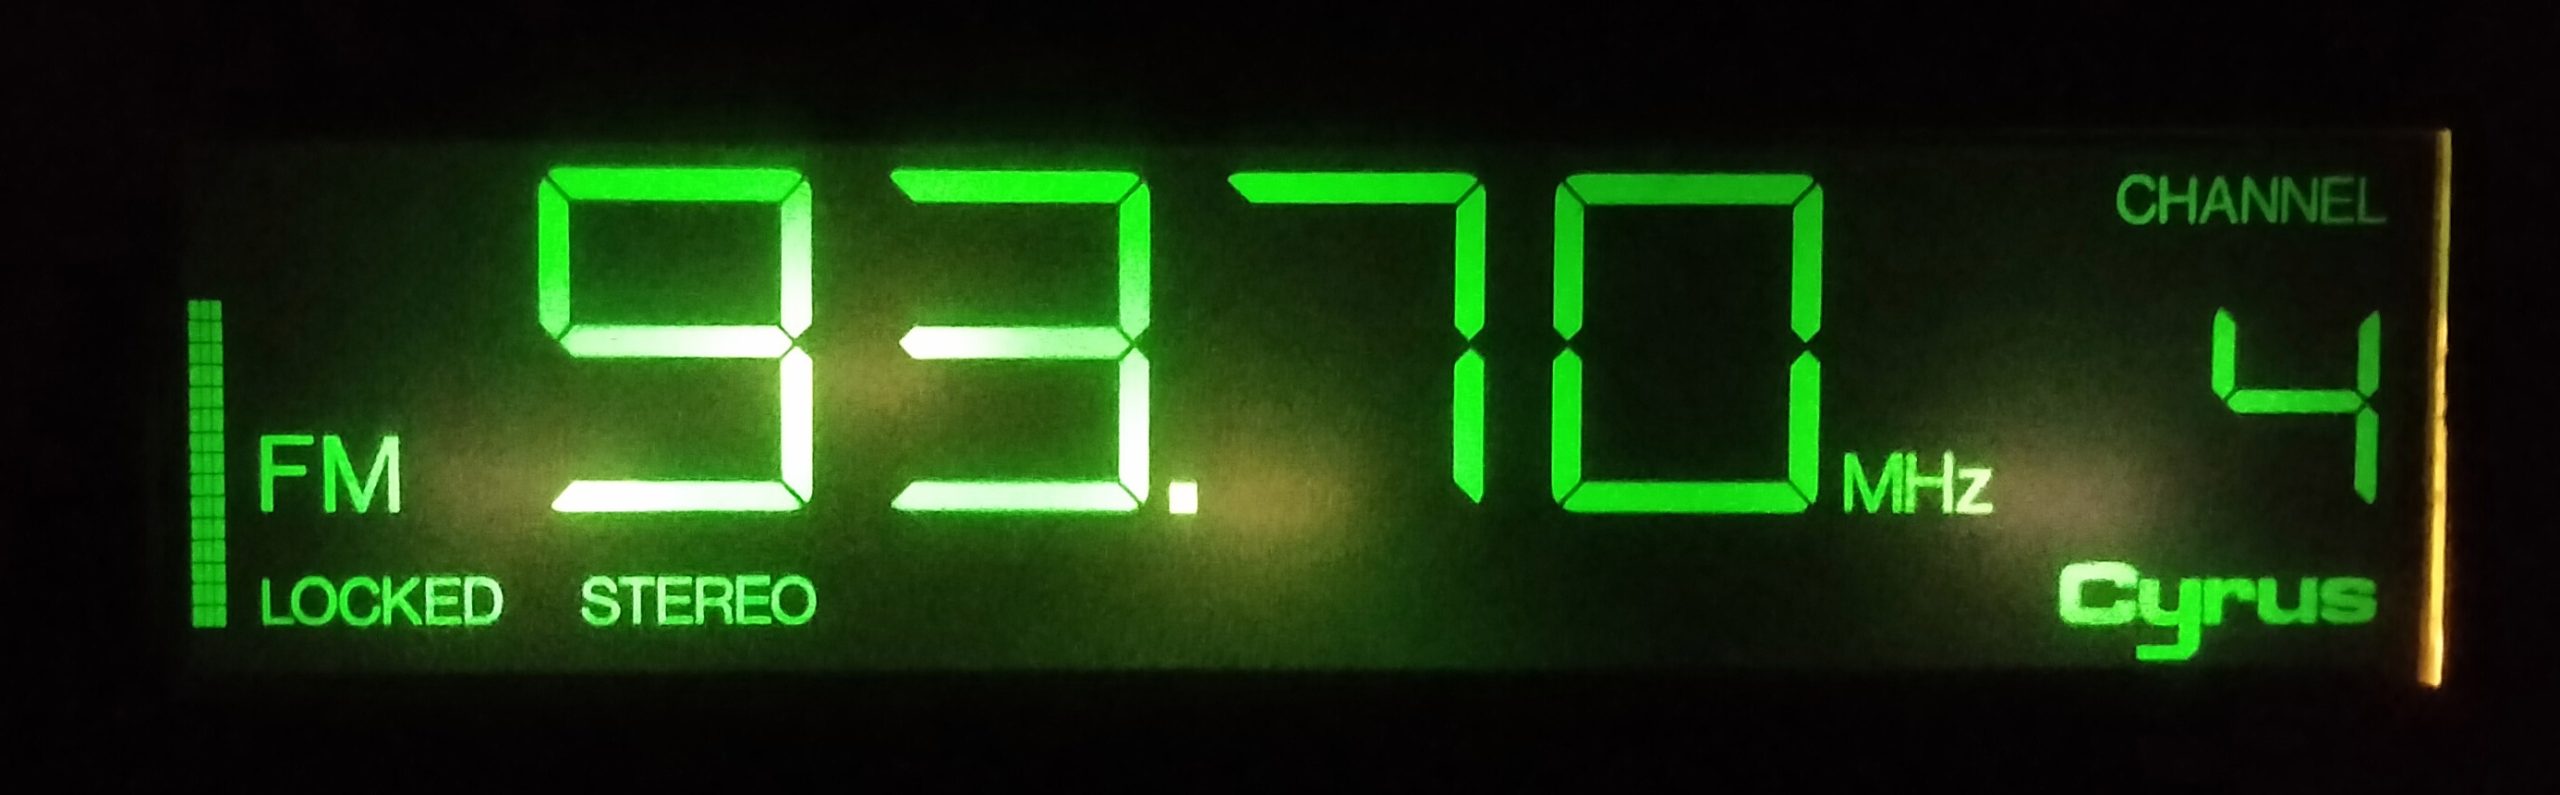
Confident that nothing was going to blow up my system I connected it up and stuck a bit of wire in the aerial socket to act as an antennae. It works! Unfortunately the display is not quite right. It was actually quite dark around the “70”. The picture makes it look better than it actually was.
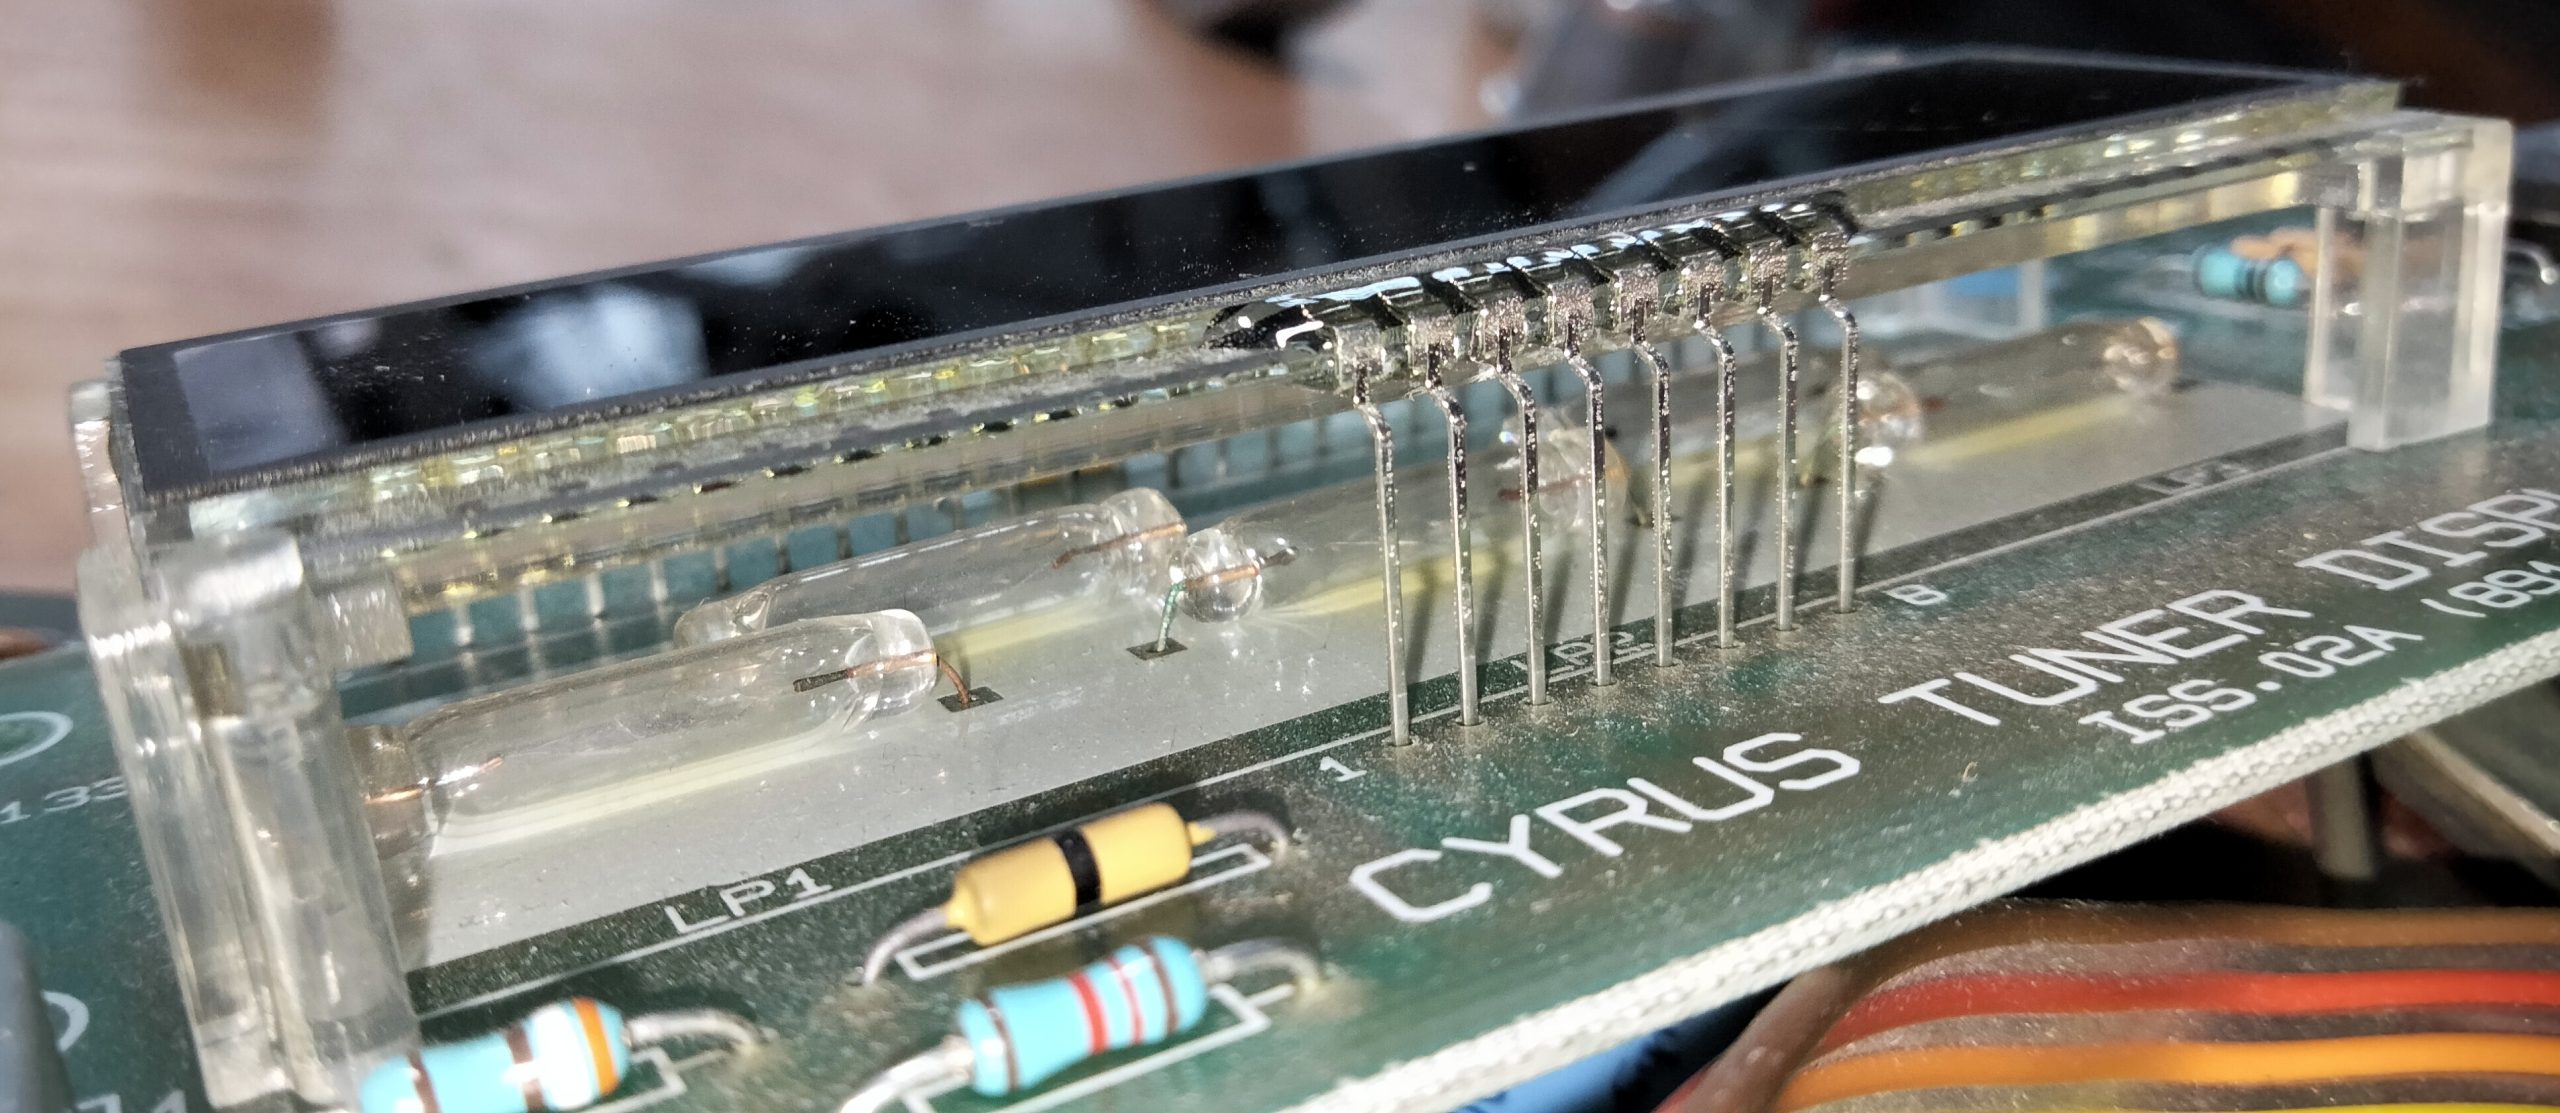
Cyrus stuff from this era is easy to work on. I was able to liberate the display from the case via half a dozen screws and a couple of plug in cables. Behind the display are five incandescent bulbs. Only three light. The same investigation on the “spare” illuminated just two of the bulbs. If I’m lucky I can end up with five working bulbs in the good unit. The bulbs have very thin connecting wires which break if you look at them the wrong way. These are 18V bulbs. Not available new. My luck didn’t hold out. Attempting to transplant from the spare I ended up with just four working lamps.
An LED replacement is the way to go. There are two thing to watch out for here. The first is that LED’s are very much “point” light sources. It’s likely that some sort of diffusion will be needed if the individual LEDs are not to be obvious behind the display. The second is that modern LEDs are bright. I will likely have to drop the current substantially to get it to look right.
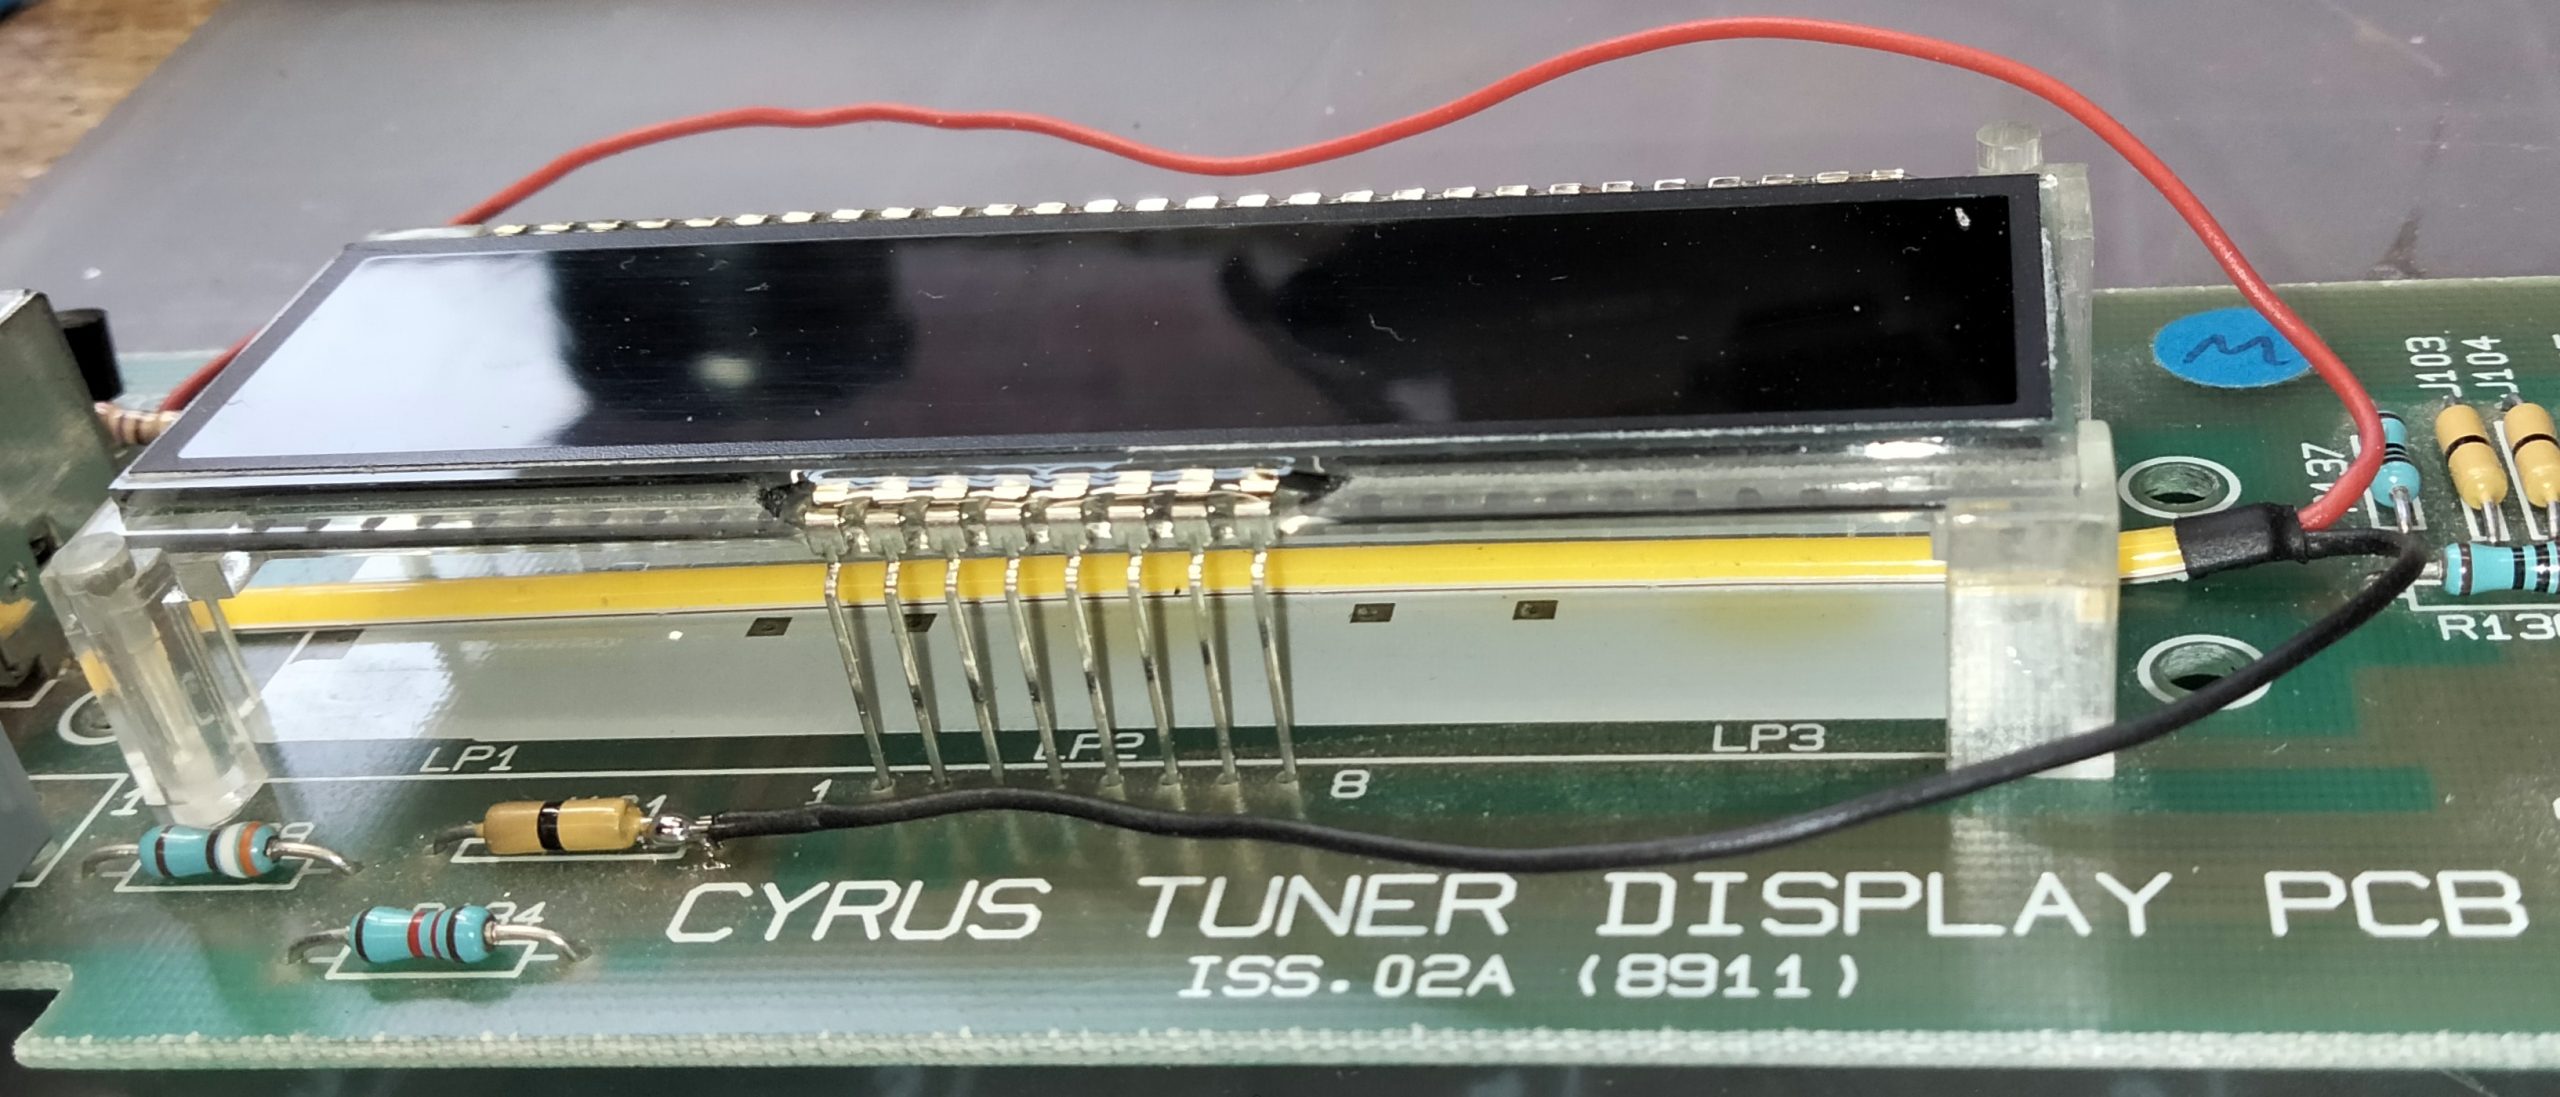
I had an assortment of different LED tape lights in my bits box. After a play with these and an adjustable power supply I settled on this “warm white” 12V strip. A suitable length was cut and installed under the display. The built in diffusion was adequate to conceal the point sources. I calculated that at least 300 ohm of series resitor would be needed to run the 12V strip from the 18V supply. I would need to establish the best value resistor by experimenting. This would have to be done with the display mounted in the cabinet.
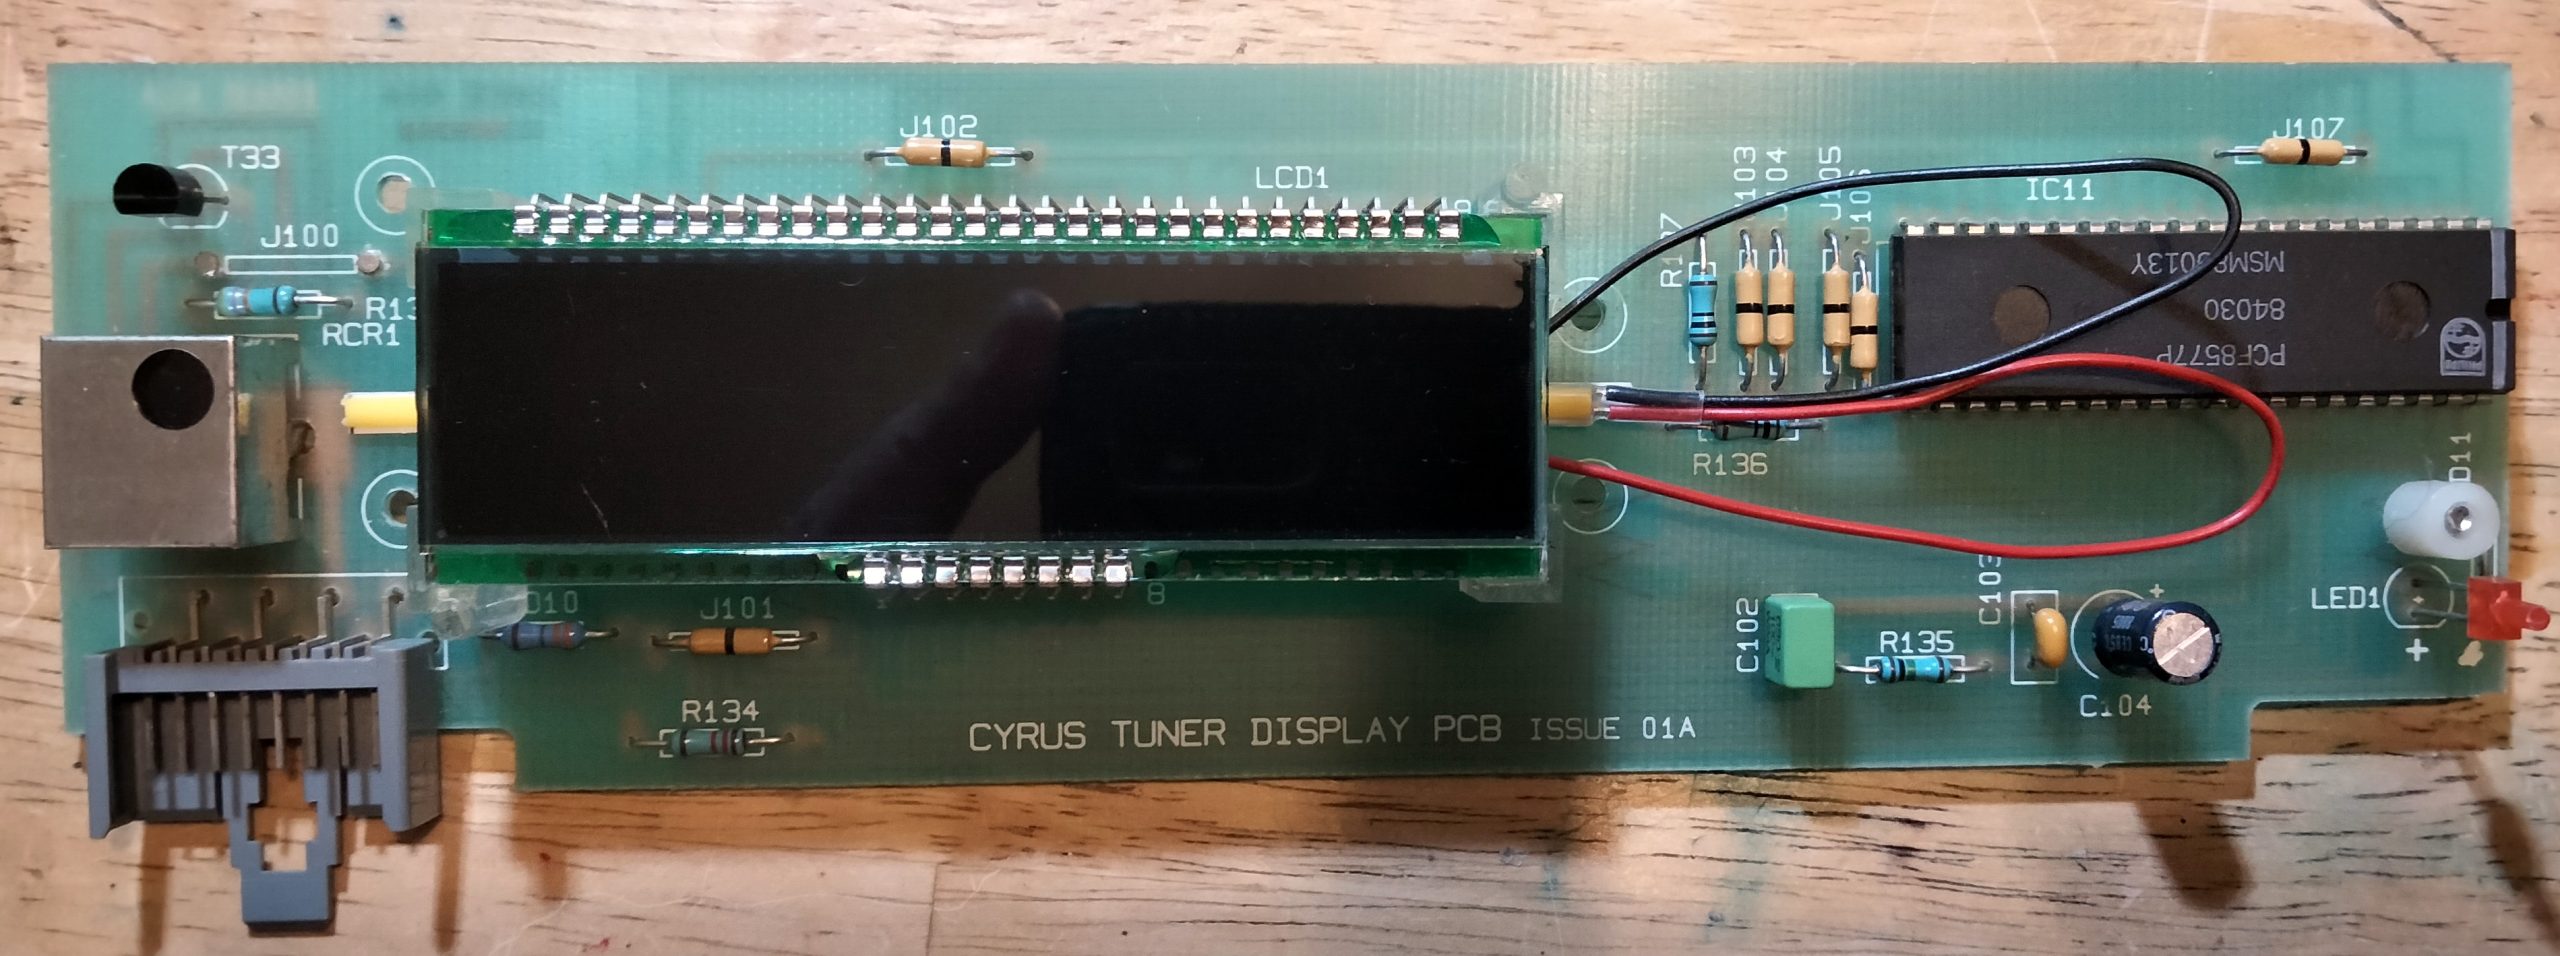
After connecting the LED strip directly to the holes previously occupied by the original bulbs, I needed somewhere to mount the series resistor. The circuit board design came to my rescue now. Cyrus utilised wire links to bridge tracks at strategic places so that the circuit can be realised with a single sided PCB. These links ,which look like resistors at first glance, are used because they can be handled by assembly machinery. Two such links were used in the lamp circuit. So, I could replace one of these with my series resistor to give a neat solution. Here you see that J100 in the top left corner has been removed.
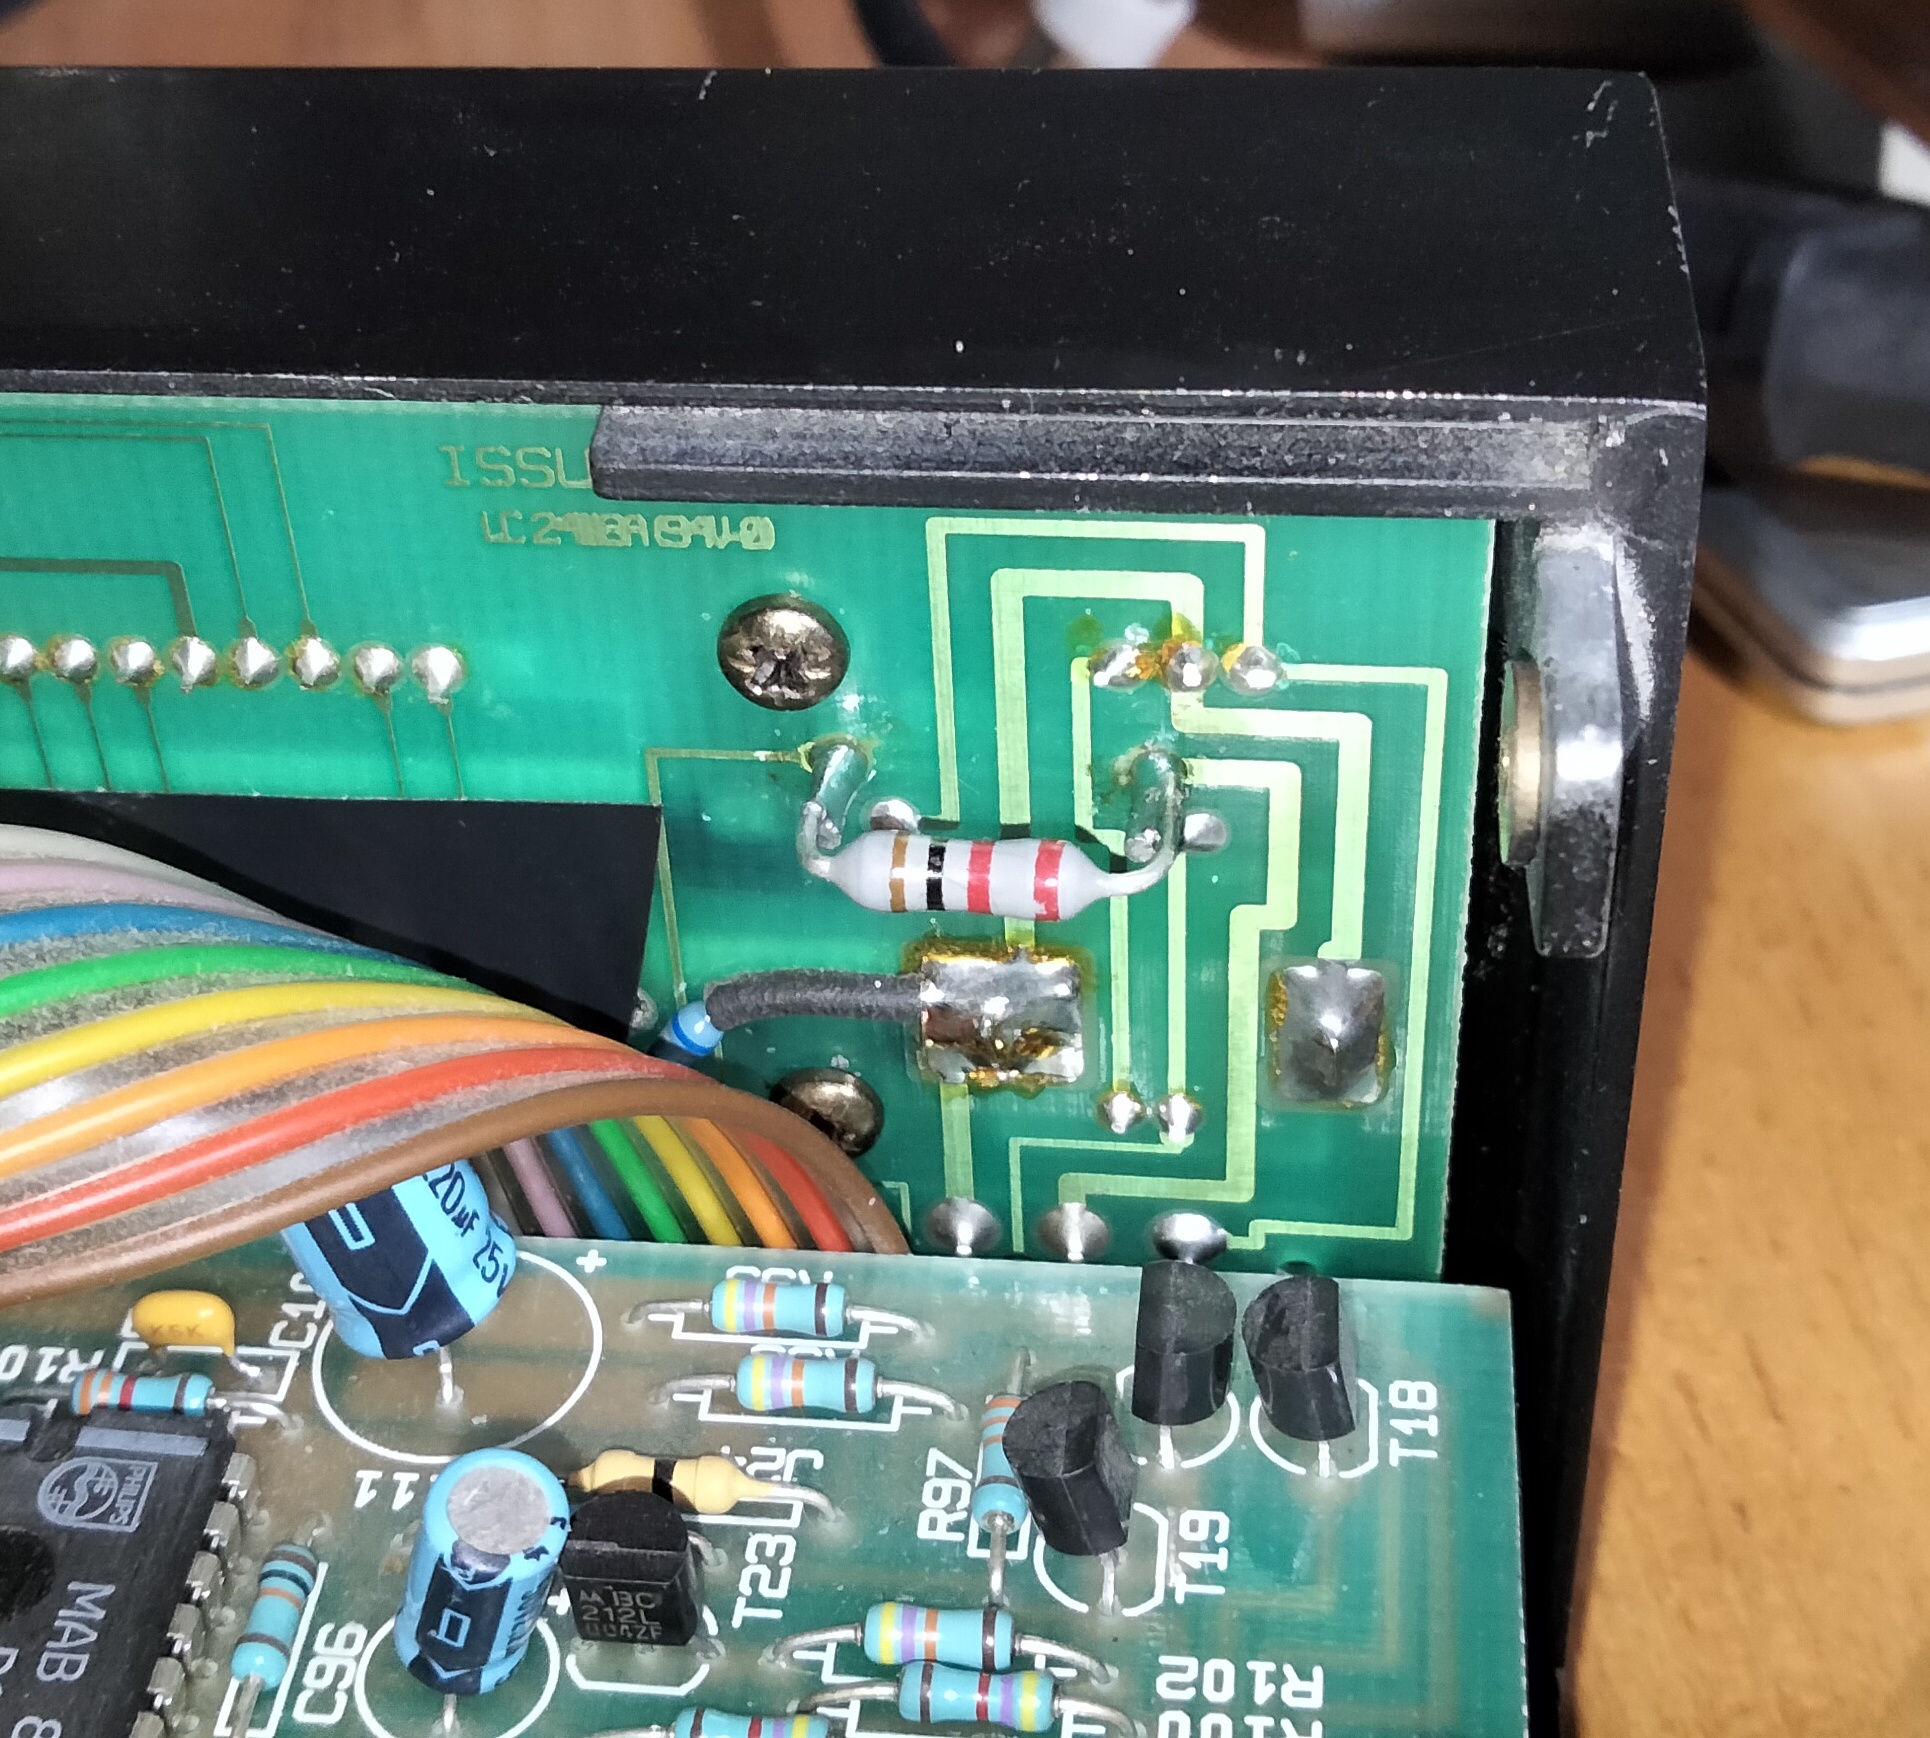
On the “track side” of the board I have added solder pins in the J100 position. Now I have the resistor soldered to those pins. It is easily acessible to change without having to take the front panel apart. I went with 1 K ohm as a first guess, with a view to changing it later if the display needs to be brighter or darker. So far I’m happy with it.
Another potential issue with LED’s is electrical noise that they can create. This could be a big deal in a circuit with very low signal levels, like a tuner. Fortunately this tuner has the means to switch off the display lights with the remote control. I was able to test if the LED’s made any audible noise. They didn’t.
Externally all I did was polish out a slight scratch on the display and touch up the black paintwork on a couple of corners where it was chipped. The internal changes I made can all be reversed in future if it is required to return the unit to as built condition.
This is a very nice tuner. It is sensitive enough to work well with a simple wire dipole aerial. The controls are intuitive. The sound is excellent and it looks the business, especially paired with my Cyrus 2 amp and PSX. From what I saw of the build and circuit design, none of this is a surprise.
I had been using a lovely NAD 4225 tuner which, once I had fixed it, has served me well in daily use for the last 7 years. This is a worthy successor.
The spare works as well, but that one is never going to be pretty. It’s been put away somewhere safe.