A friend wanted his hand held while he upgraded the cartridge on his new turntable.
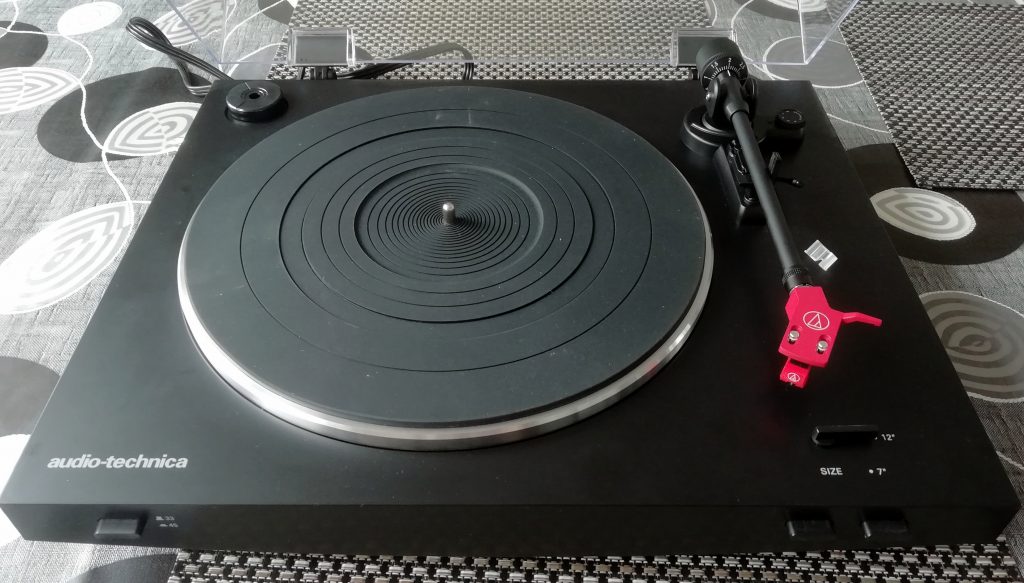
This LP3 turntable was bought a few months ago. After reading reviews Matt decided to follow advice and replace the entry level cartridge, as fitted, with a more capable one.
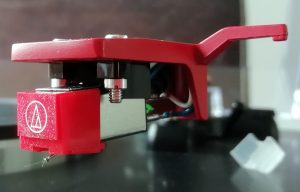
This is the AT91b cartridge originally fitted. These are very much entry level carts, being available for about £30. They are OK, but this turntable deserves better. Various reviewers have made this point. Matt has had his wrists slapped for allowing his stylus to get so filthy. He has promised to be a good boy with the new one.
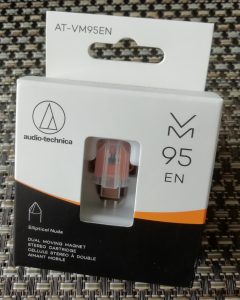
The replacement is one of Audio-Techica’s latest models. The AT-VM95EN costs just under £100 and comes with a nude elliptical stylus.
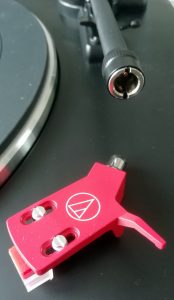
Start the job by removing the head-shell and cartridge from the arm. On this turntable the head-shell is removed by loosening the collar on the end of the arm and withdrawing the shell.
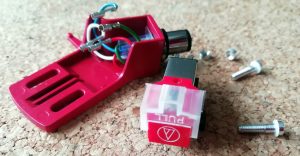
The original cartridge is removed simply by removing the pair of mounting bolts and pulling the connectors off the back of the cartridge. Be sure to use small pliers and pull the connectors, NOT the wires. Also keep the stylus cover in place. The AT91 is a decent budget cartridge, you don’t want to damage it because you will almost certainly find a use for it at some point.
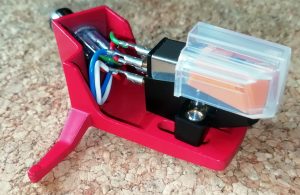
The new cartridge is simply bolted into the head shell, after re-connecting the wires in accordance with the manufacturers connecting diagram. Note that nuts are not required this time, because the cartridge includes captive nuts in it’s mounting bracket. Just do the bolts up tight enough to hold the cart in place. We will be adjusting its position shortly. The head shell is fitted back on the arm just by plugging it back in and tightening up the collar.
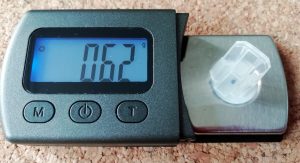
So far we have kept the cover on the stylus to prevent damage. It’s tempting to leave it on while we set up the tracking force. As we see, it weighs over 1/2 a gram. If we set tracking with this in place we will be well under when it is removed. so, now is the time to take it off.
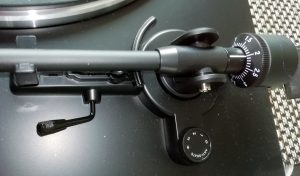
Tracking force adjustment varies from turntable to turntable. On the LP3 it is done by screwing the balance weight in and out. Follow the manufacturers instructions here. Set the tracking force as recommended by the manufacturer. 2g in this case. I discuss tracking force at length in another article here.
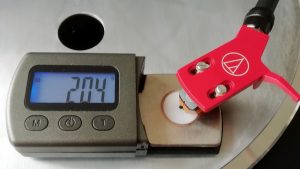
Now check that it is what you expect. Note that I have removed the turntable mat. This is to allow for the thickness of the weighing platform on the scales. We get 2.04 g, which is actually as good as you need. However, the cartridge position has not been fine tuned. This will affect the tracking force, so we will return to this later.
Ideally the cartridge should move linearly across the record, keeping the stylus parallel to the grooves at all times. This is how the cutting lathe worked when the record was mastered. Indeed, linear tracking turntables are available, but these are difficult to engineer well. The swinging arm used on most turntables is a design compromise. As the arm sweeps across the record the angle between the stylus and grooves changes. This causes distortion, particularly on the inner grooves. High end turntables use longer tone arms to minimise this effect. There have also been some clever designs of arm which “twist” the head-shell as the arm moves to keep the stylus parallel to the grooves. An example of this is the Garrard Zero 100 turntable.
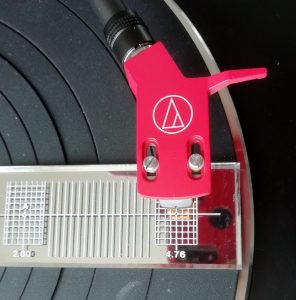
For most turntables, with a standard radial type arm, the best we can do is set up the arm to minimise the distortion across as much of the playing surface as we can. Opinions differ about the best way to do this and various algorithms exist. What is generally accepted is that correct alignment can only be achieved at two radius. All other points will be out of alignment. As to which two points? Various cartridge alignment gauges are available for download from the internet. They adhere to different theories, as typically explained on the download sites. Your choice. I use a commercially available plastic cartridge alignment gauge.
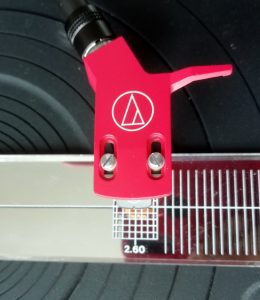
The gauge fits over the spindle and you then align the cartridge over the inner grid so that it is parallel with the grid when the stylus is on the reference point. Do this by moving the cartridge forward or backward in the head-shell. Now move to the outer grid and repeat. After a couple of iterations you will find a position where the alignment works at both points. Tighten the head shell screws at this point. Looking at this example you see that the cartridge screws are a couple of mm forward of the centre.
We are nearly there now, but notice that moving the cartridge out has changed the balance of the arm. The tracking force will have changed as a result.
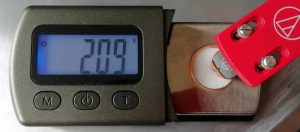
Ouch! almost 2.1g, up from the 2.04 we measured earlier. We were able to adjust this to bang on 2.00.
The last thing to do was adjust the “anti skate” using the dial by the tone arm, to match the tracking weight. Matt is really pleased with the result.
