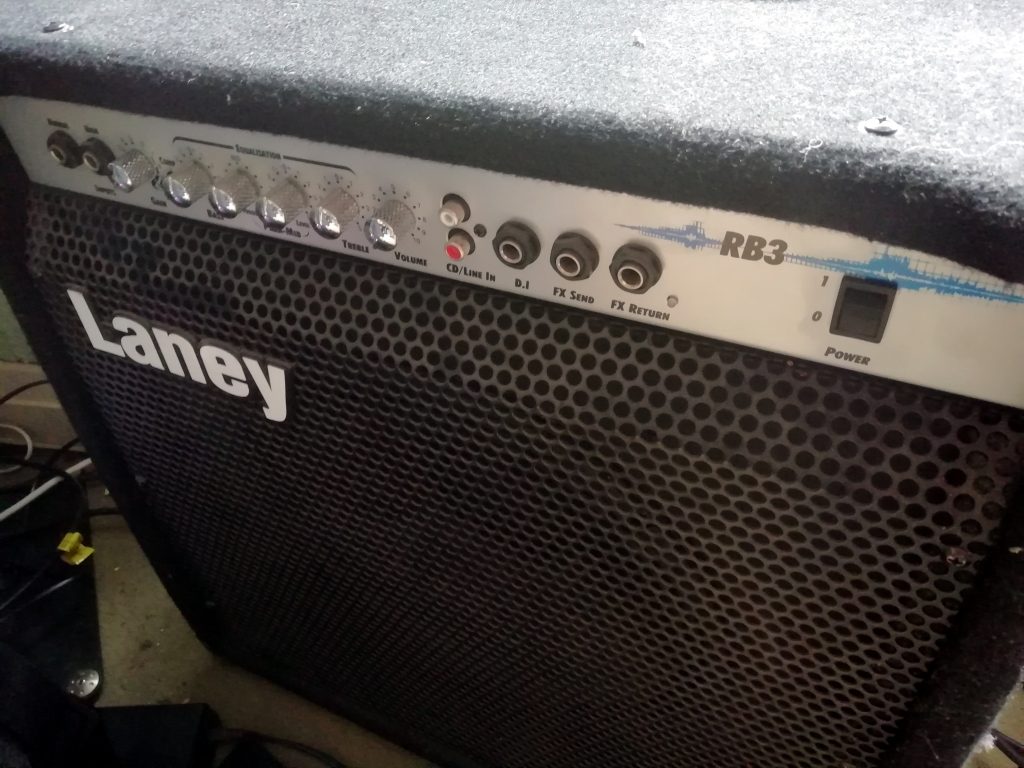
I’ve had this bass amp for years. It’s only been gigged once, I mainly use it as a practice amp. It has a great sound and a very useful built in compressor. I bought it 1/2 price from a music shop that was closing down.
Last time I switched on, after not using it for a while. Heard a loud pop followed by a hum from the speaker. That’s not good. Before I even open it up I have a good idea what’s going on here.
Sometimes it takes hours of work with lots of expensive test equipment. This time it didn’t.
The humming implied that there was a problem with the power supply. Clever money is that it is one of the main smoothing capacitors has blown. If I’m unlucky it may have blown a diode or a regulator. If I’m really unlucky it will have allowed nasty volts to get to the amplifier circuits and fry something important there.
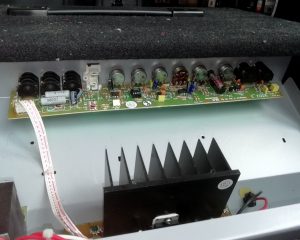
Getting it apart was easy. Just 6 screws and the chassis slid out. Well, almost. The captive speaker cable was just a couple of inches too short to allow full removal without disconnecting.
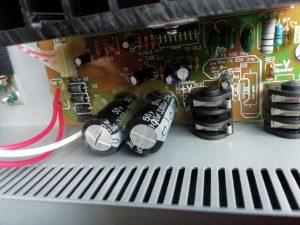
The problem was obvious before the chassis was fully removed. You can clearly see that one of the big 3300 uF 50V smoothing capacitors had split open. Capacitors can release a lot of energy instantly when they fail, so most are designed to release the “explosion” without doing too much damage. In this example the capacitor has a weakness built into the top of the case.
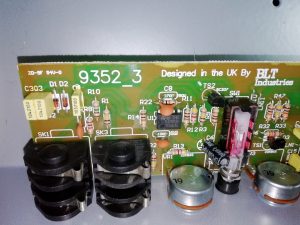
What I see matches the symptoms, but it’s worth having a good look around while I’m inside. This amp is easy to gain access to. It looks to be well built, with no other visible faults. It uses two circuit boards. The long thin one at the front is the pre-amplifier. The circuit is built using discrete components and common op-amps. Nothing unusual here, in a good way.
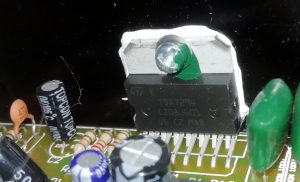
The smaller circuit board at the back is the power amplifier and power supply. The bulk of the work here is done by the single integrated circuit that you see bolted to the large black heat sink. The TDA7294 is capable of up to 100W.
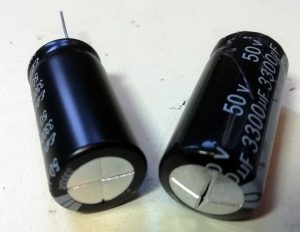
The replacement capacitors only took a couple of days to arrive. Here you see the new one next to the old. The damage is clear to see.
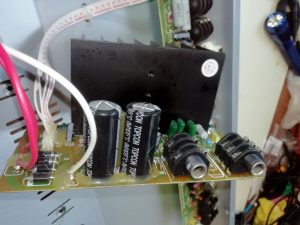
Removing the power board was easy. Just the plastic nuts on the jack sockets and two bolts released the board, giving me access to the underside so I could un-solder the damaged part.
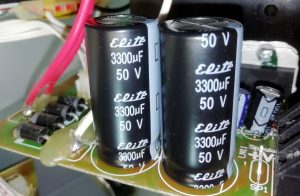
I chose to replace both of the power supply caps. They only cost a couple of quid each and took only a couple of minutes to solder in. I finished the job with a squirt or two from the hot glue gun to reinstate mechanical support for the capacitors.
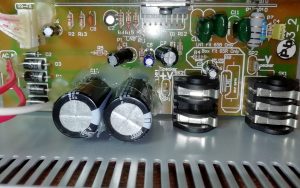
The good design and easy access made this a quick easy repair.
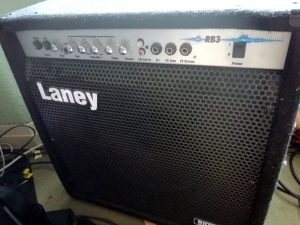
Let’s get ready to rumble.
