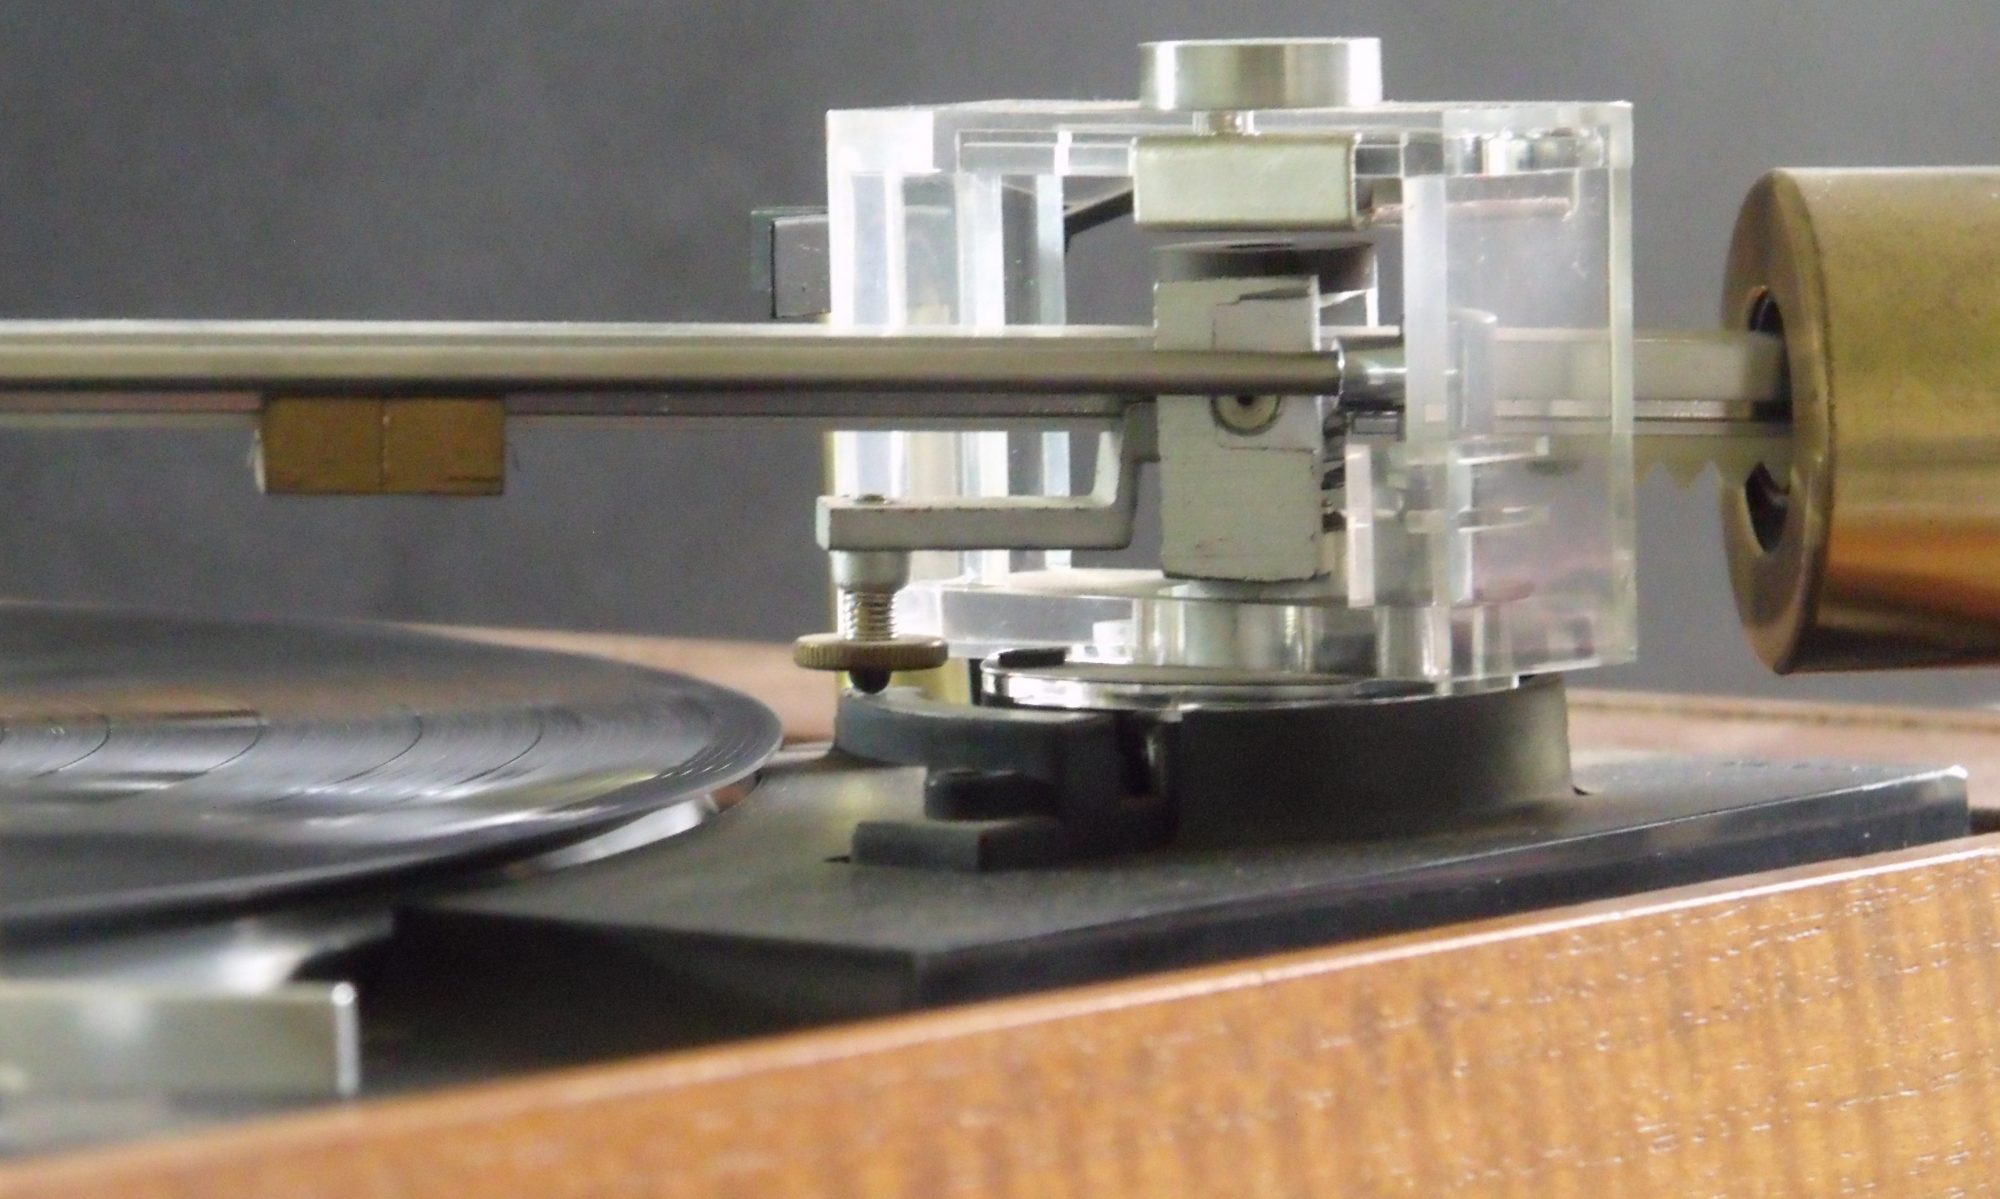
This charity shop find has been restored to great working condition. Sadly, it ain’t pretty.
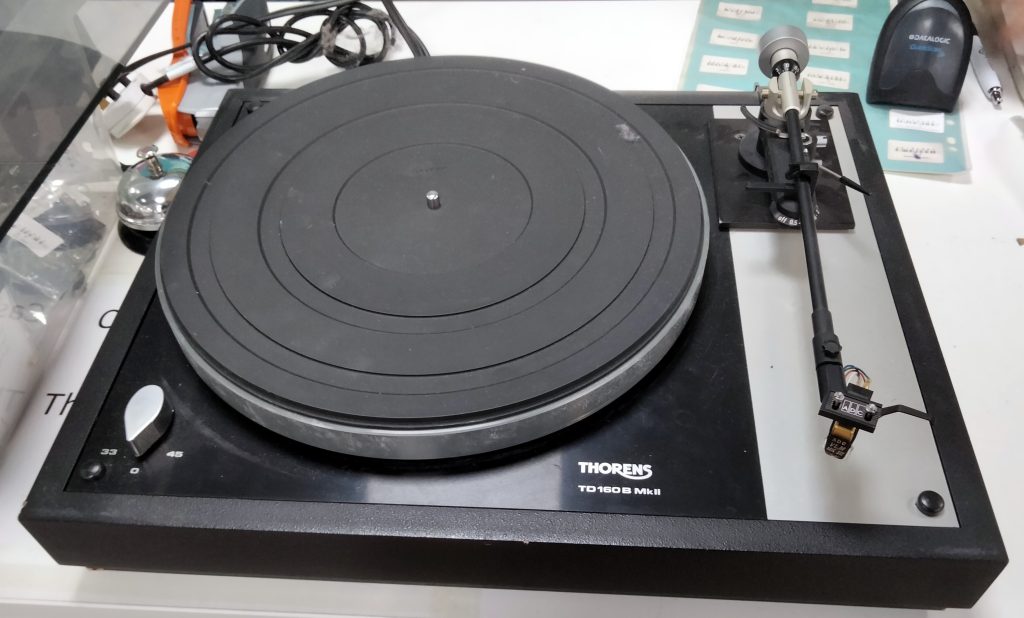
A hinge is broken, the lid is scratched, and the plinth has a couple of knocks.
Jobs required to sort out the cosmetics are:
- Hinge repair
- Lid scratch removal
- Plinth touch up
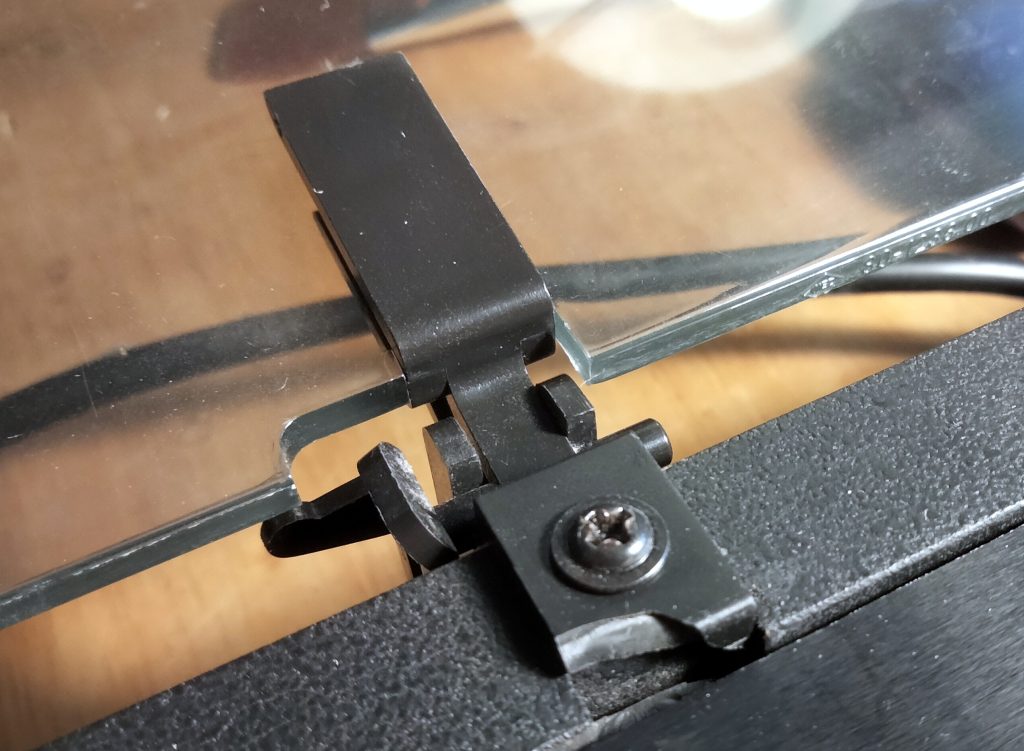
Though the hinge had snapped off, enough remained to be able to fashion a repair by drilling and screwing the remains of the bracket to the wooden plinth. This hinge is well out of sight behind the platter, so the repair is fine.
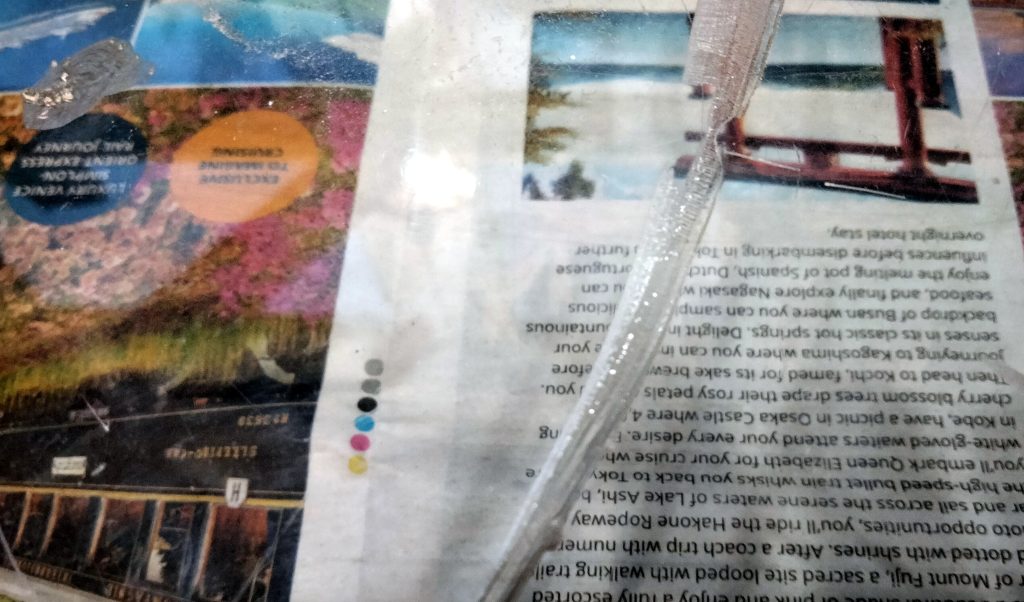
The lid scratches are a more serious proposition. Here you see the substantial damage caused by the chemical reaction between the perspex lid and the mains cable which had been left in contact with it in storage.
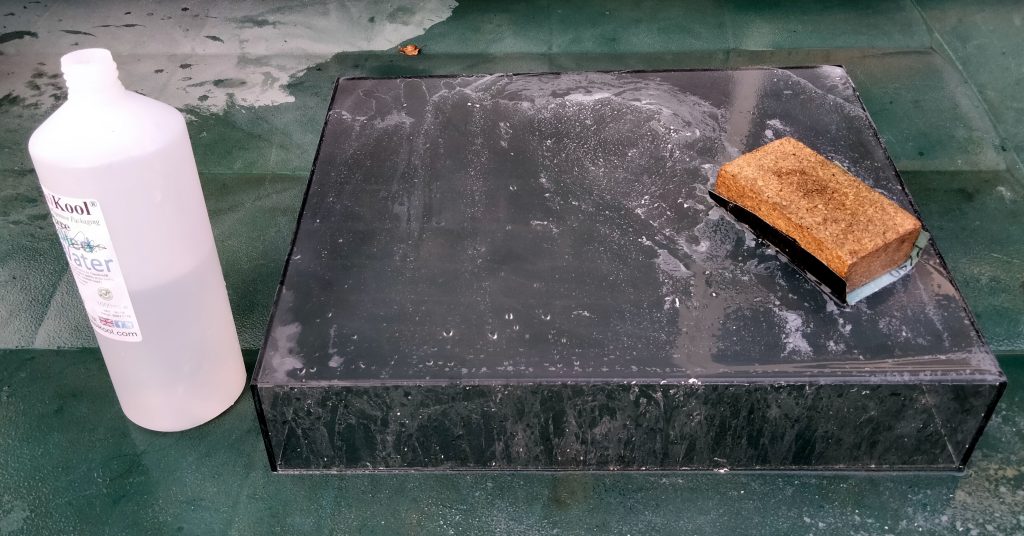
Fortunately the lid was otherwise complete and had no cracks or missing parts. The solution is to remove the damaged surface by carefully rubbing with wet abrasive paper. Start coarse and move on to finer grades when the scratches are gone. Keep it wet and take your time. There are plenty of YouTube Videos on this.
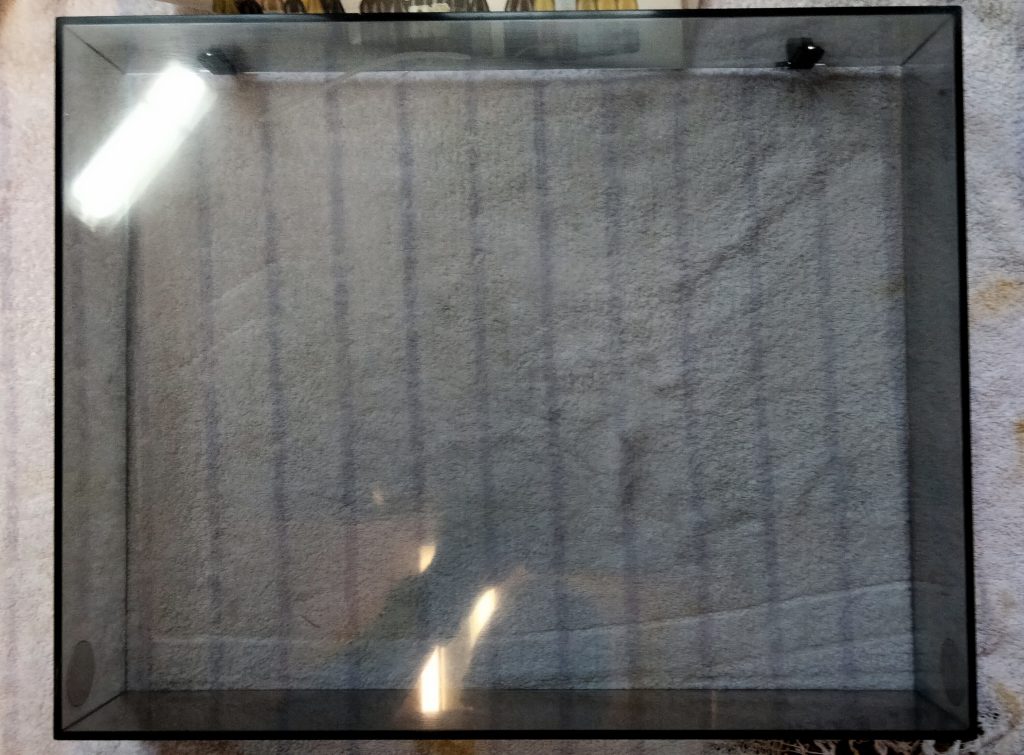
The final finish was achieved with a liquid polish. I used “Brasso” but others advocate T Cut or Car headlight polish. All approaches have their pro’s and cons. Do your own research and chose your own level of risk with this one! I’m delighted with the result. There is still visible damage on the inside of the lid, but I didn’t tackle that at this time. You would only notice it if you were really looking.
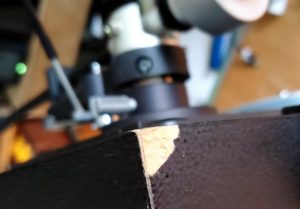
This version of the Thorens plinth is covered in black vinyl wrap. It’s mainly in good condition. However on the edges and corners there is some damage to the vinyl. The light coloured board underneath is clearly visible.
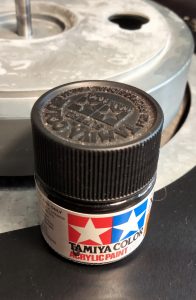
Matt or satin black acrylic model paint comes to the rescue here. Carefully applied to the effected areas it dries quickly and gives the whole thing a real lift. The damage is still there, but you don’t notice it.
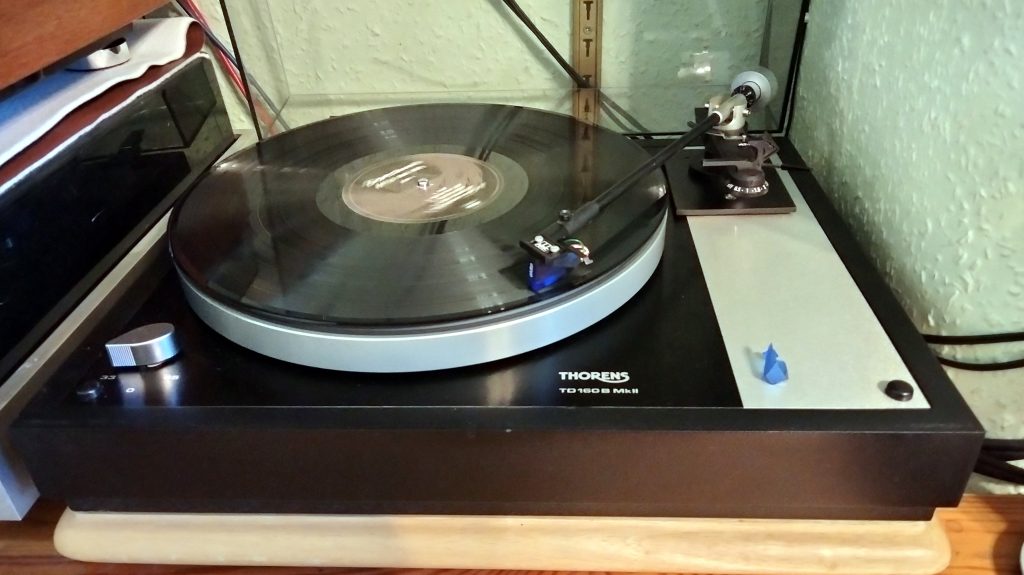
The overall effect is of an old , but looked after, piece of equipment. It does not look out of place amongst my other vintage equipment.
